Enhance storytelling with stylish text animations. Add emphasis to important talking points, provide context to viewers, and increase a video's accessibility with unique text animation effects.
Create memorable mobile-friendly social media ads, slideshow videos, and work videos using versatile animation effects to make videos stand out on the feed. Choose from a wide range of creative and professional animations like typewriter, bounce, or fade and effortlessly customize them to suit a video's look and feel.
Explore text options and learn how to add animations to text in a video easily using Clipchamp video editor.
Types of text options in Clipchamp
Plain text: this classic text option is easily customizable. Change the font, size, color and alignment while adding animation effects to suit video needs.
Text styles: these text options feature a range of designer-like fonts like creator, neon, vintage and bubble. Customize text properties like size as well as advanced properties like line height and letter spacing to match a creative vision.
Animated titles: these text options have eye-catching animations that will make any video stand out. Explore titles like typewriter, glitch, and bouncing to add personality to any video.
Special text: these are featured animated text options like meme text, quotes, testimonial star ratings, countdowns, and can help create impactful social media and marketing videos.
Brand kit font: upload a custom brand font to create video content for work, an official creator brand, or a project.
AI-powered captions: this moving text option makes videos accessible. Quickly generate AI subtitles in Clipchamp, then change the caption font, colors, text size, and alignment to match a video aesthetic.
How to add text to videos for free
Step 1. Import videos or select stock footage
To import videos, photos, and GIFs, click on the import media button in the your media tab on the toolbar to browse computer files, or connect to a OneDrive.
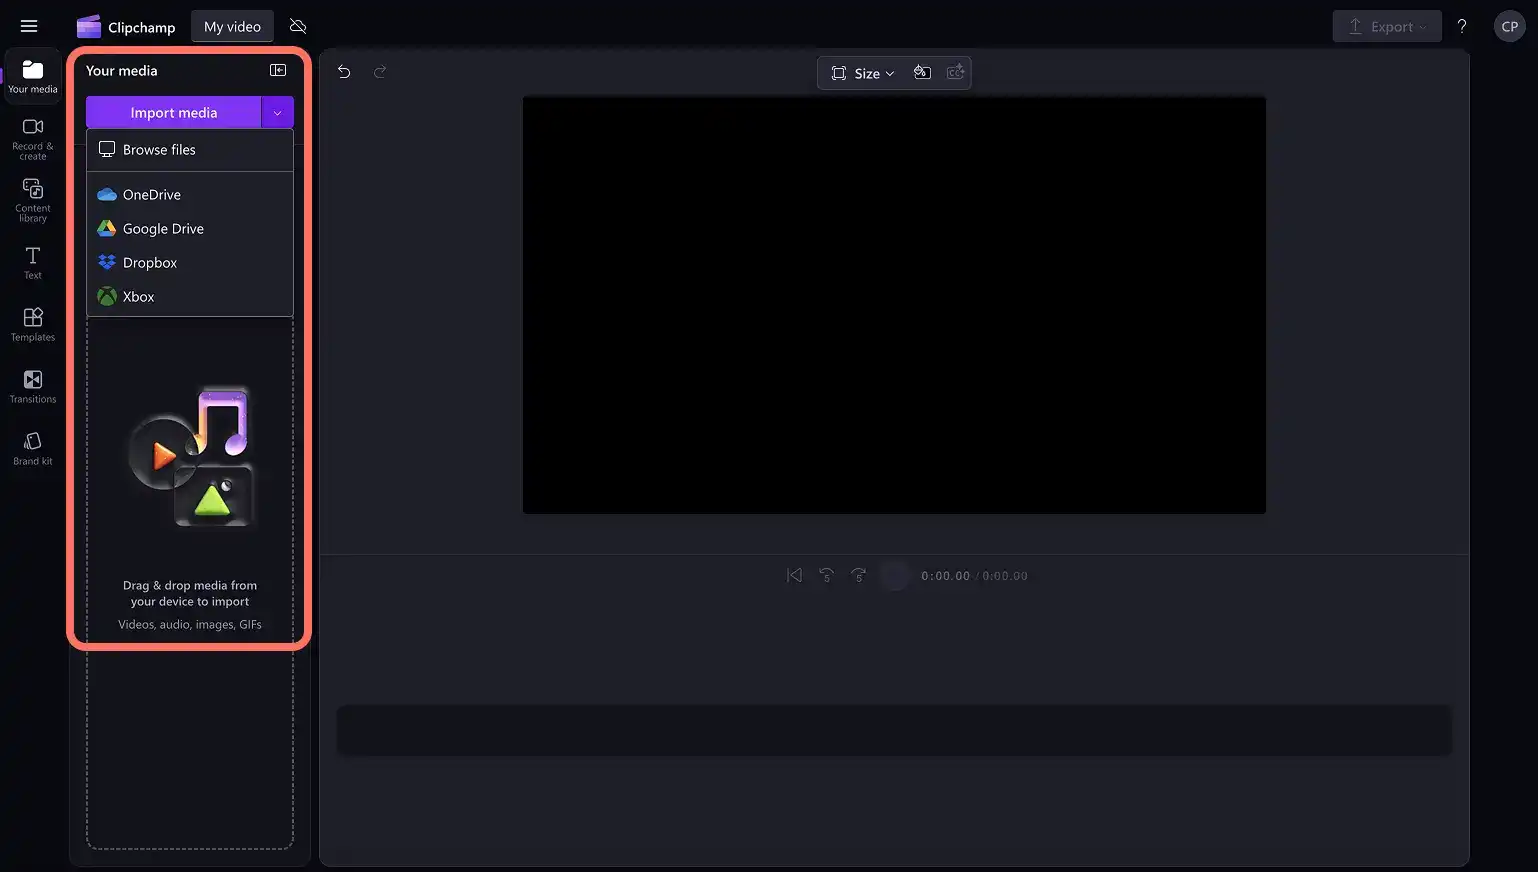
Free stock media like video clips, photos, video backgrounds, and GIFs are also available for use. Click on the content library tab on the toolbar and click on the visuals drop-down arrow, then videos, photos, or backgrounds. Search through the different stock categories using the search bar as well.
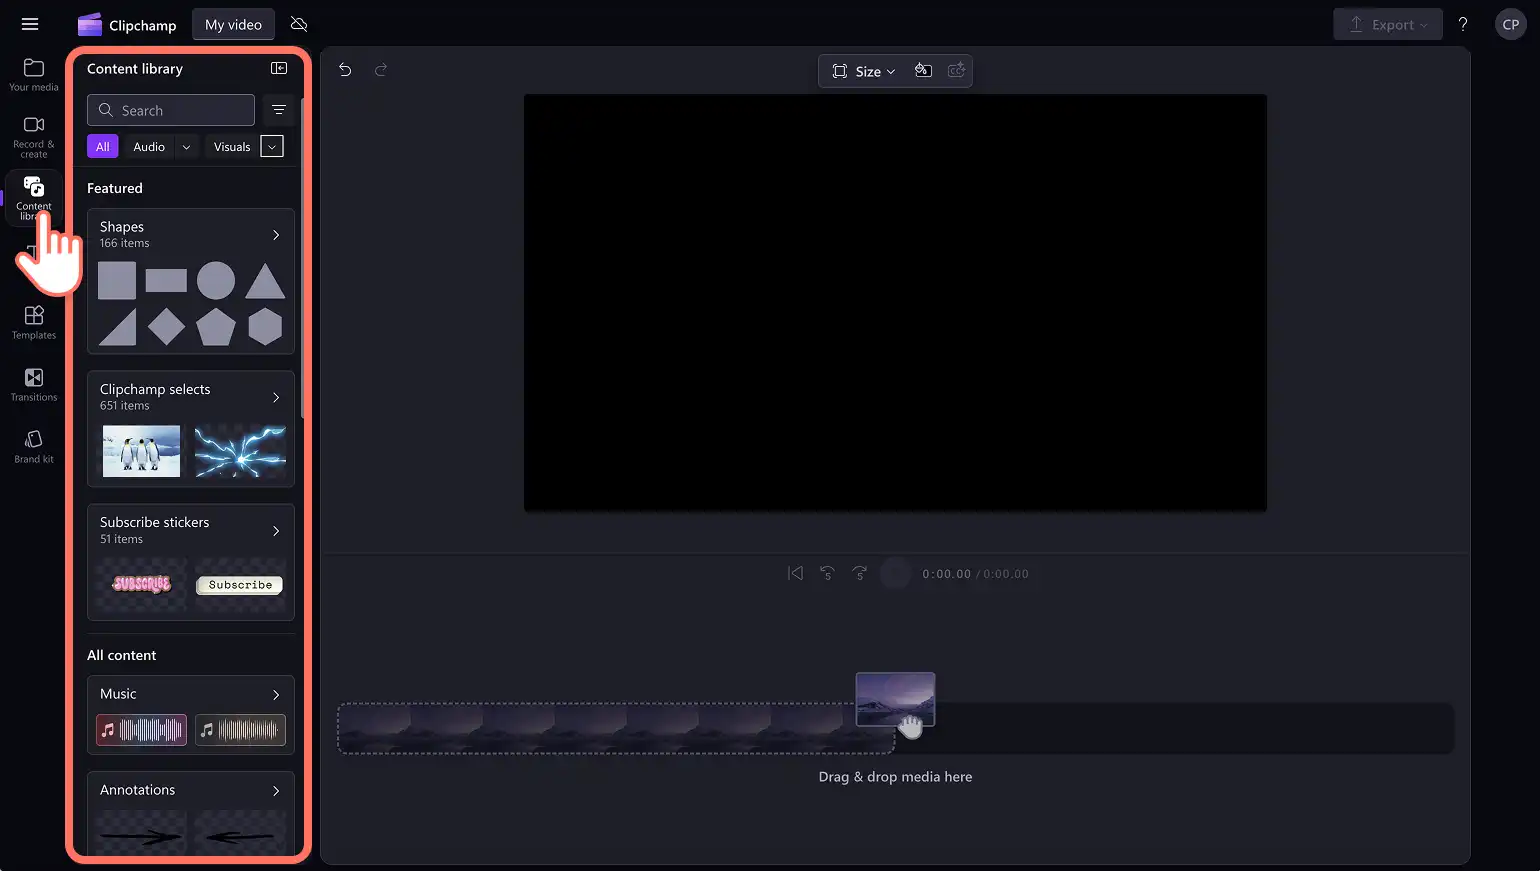
Drag and drop media onto the timeline to start editing.
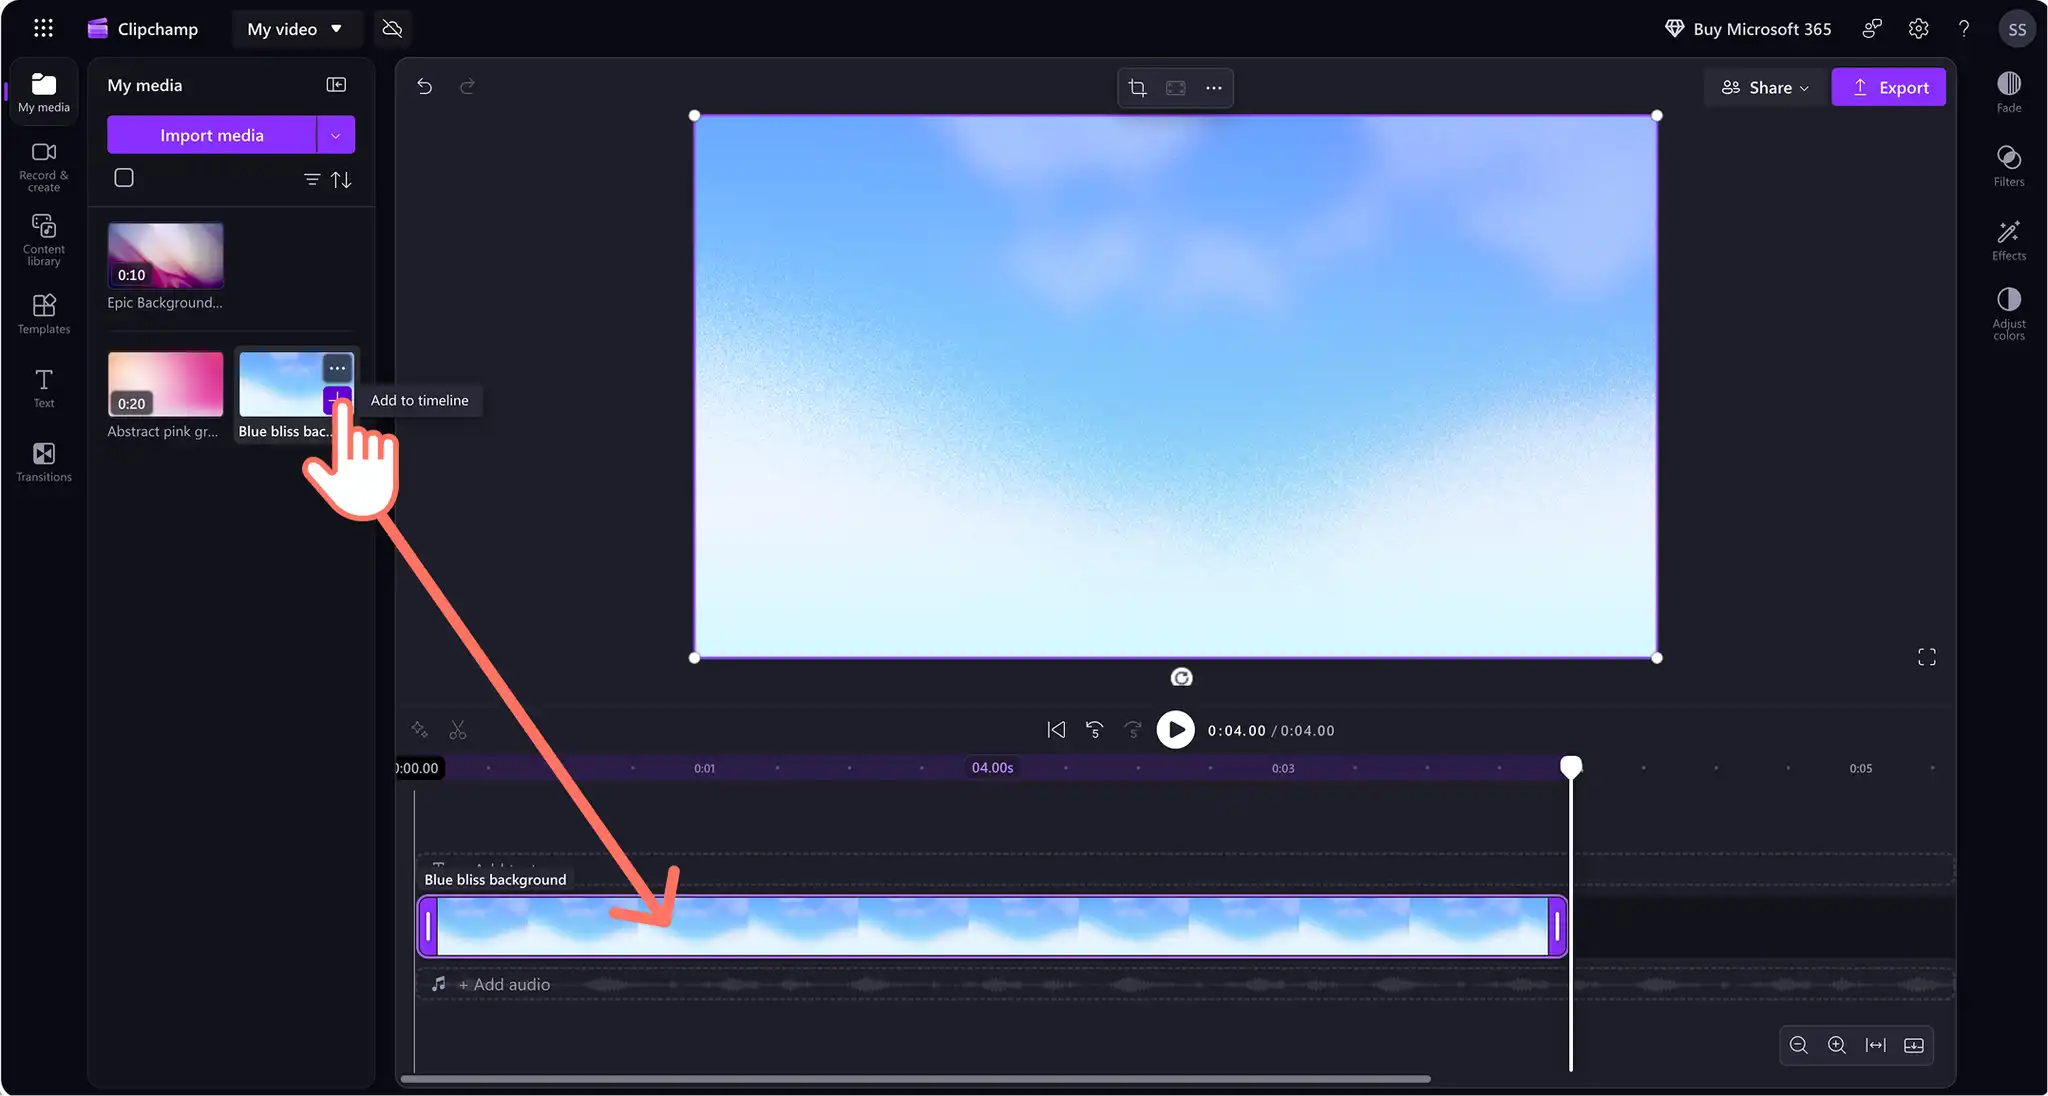
Step 2. Add a title to the video
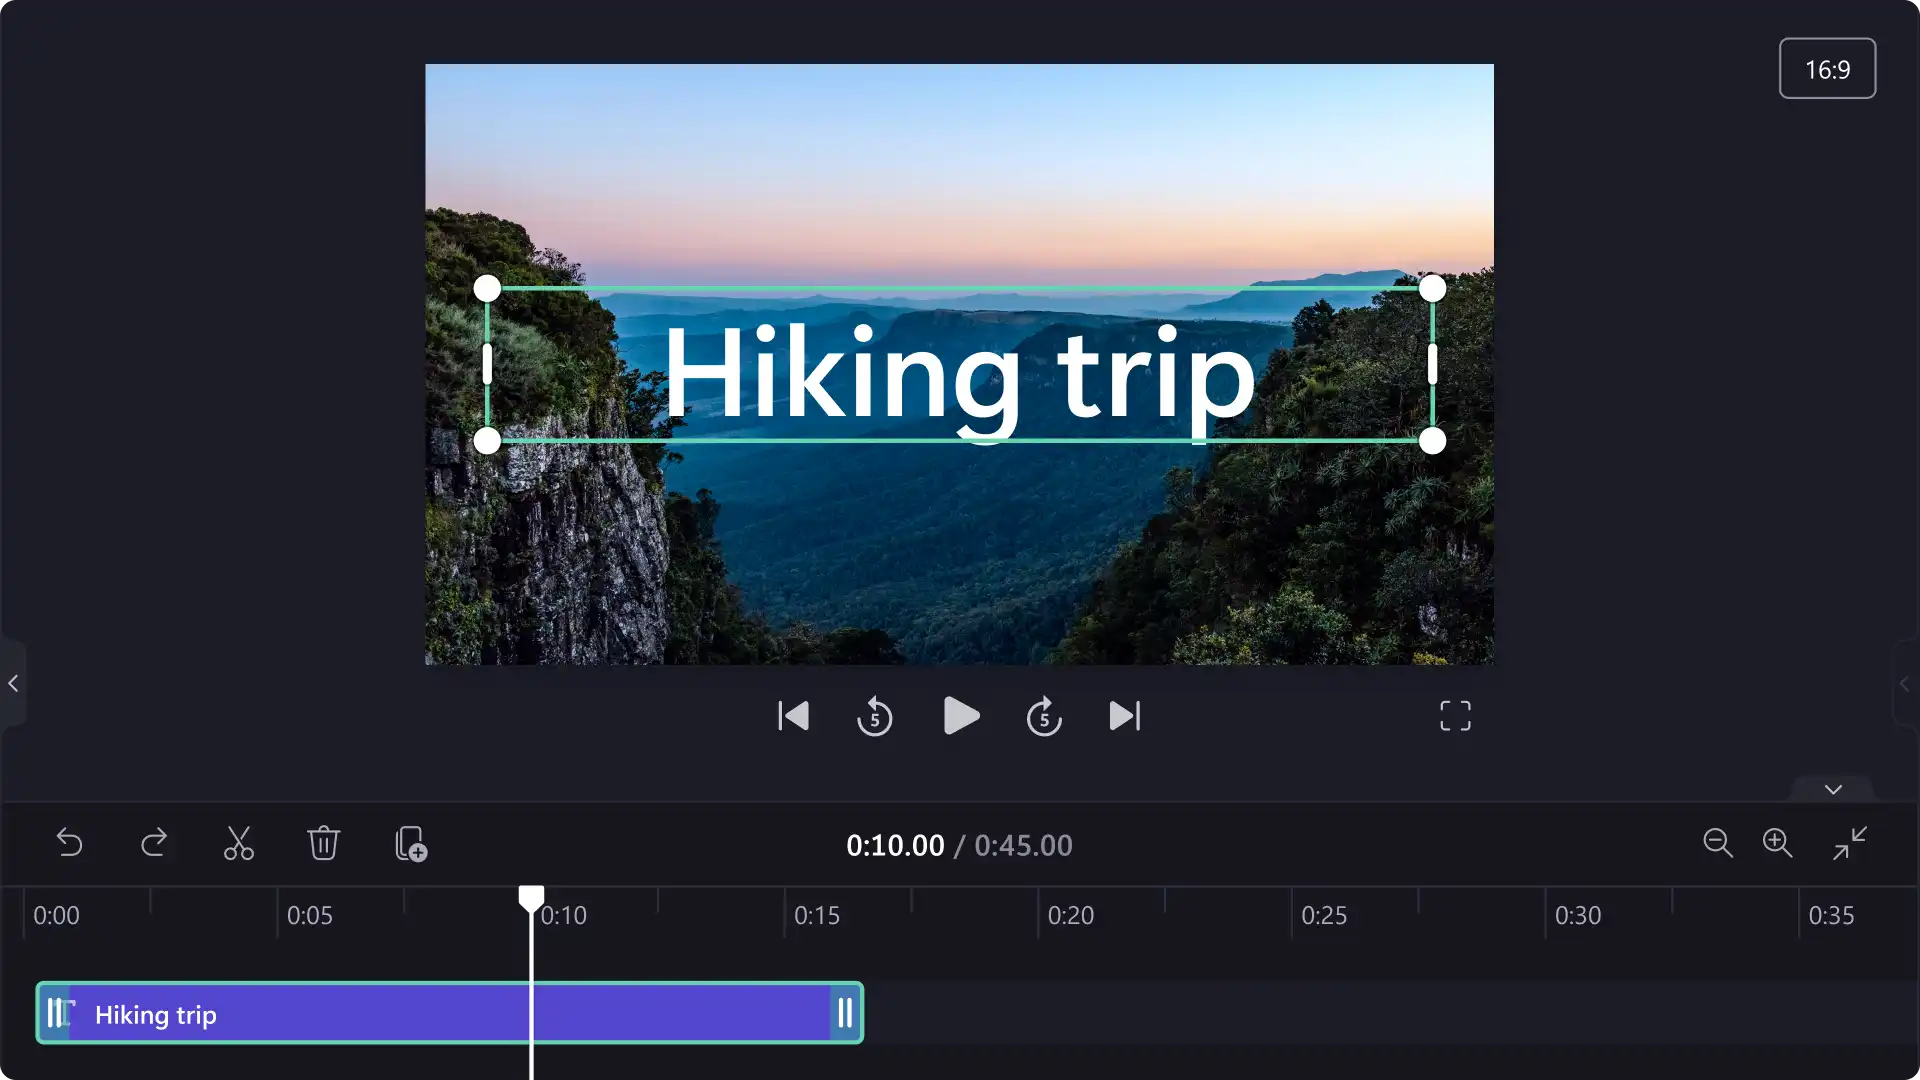
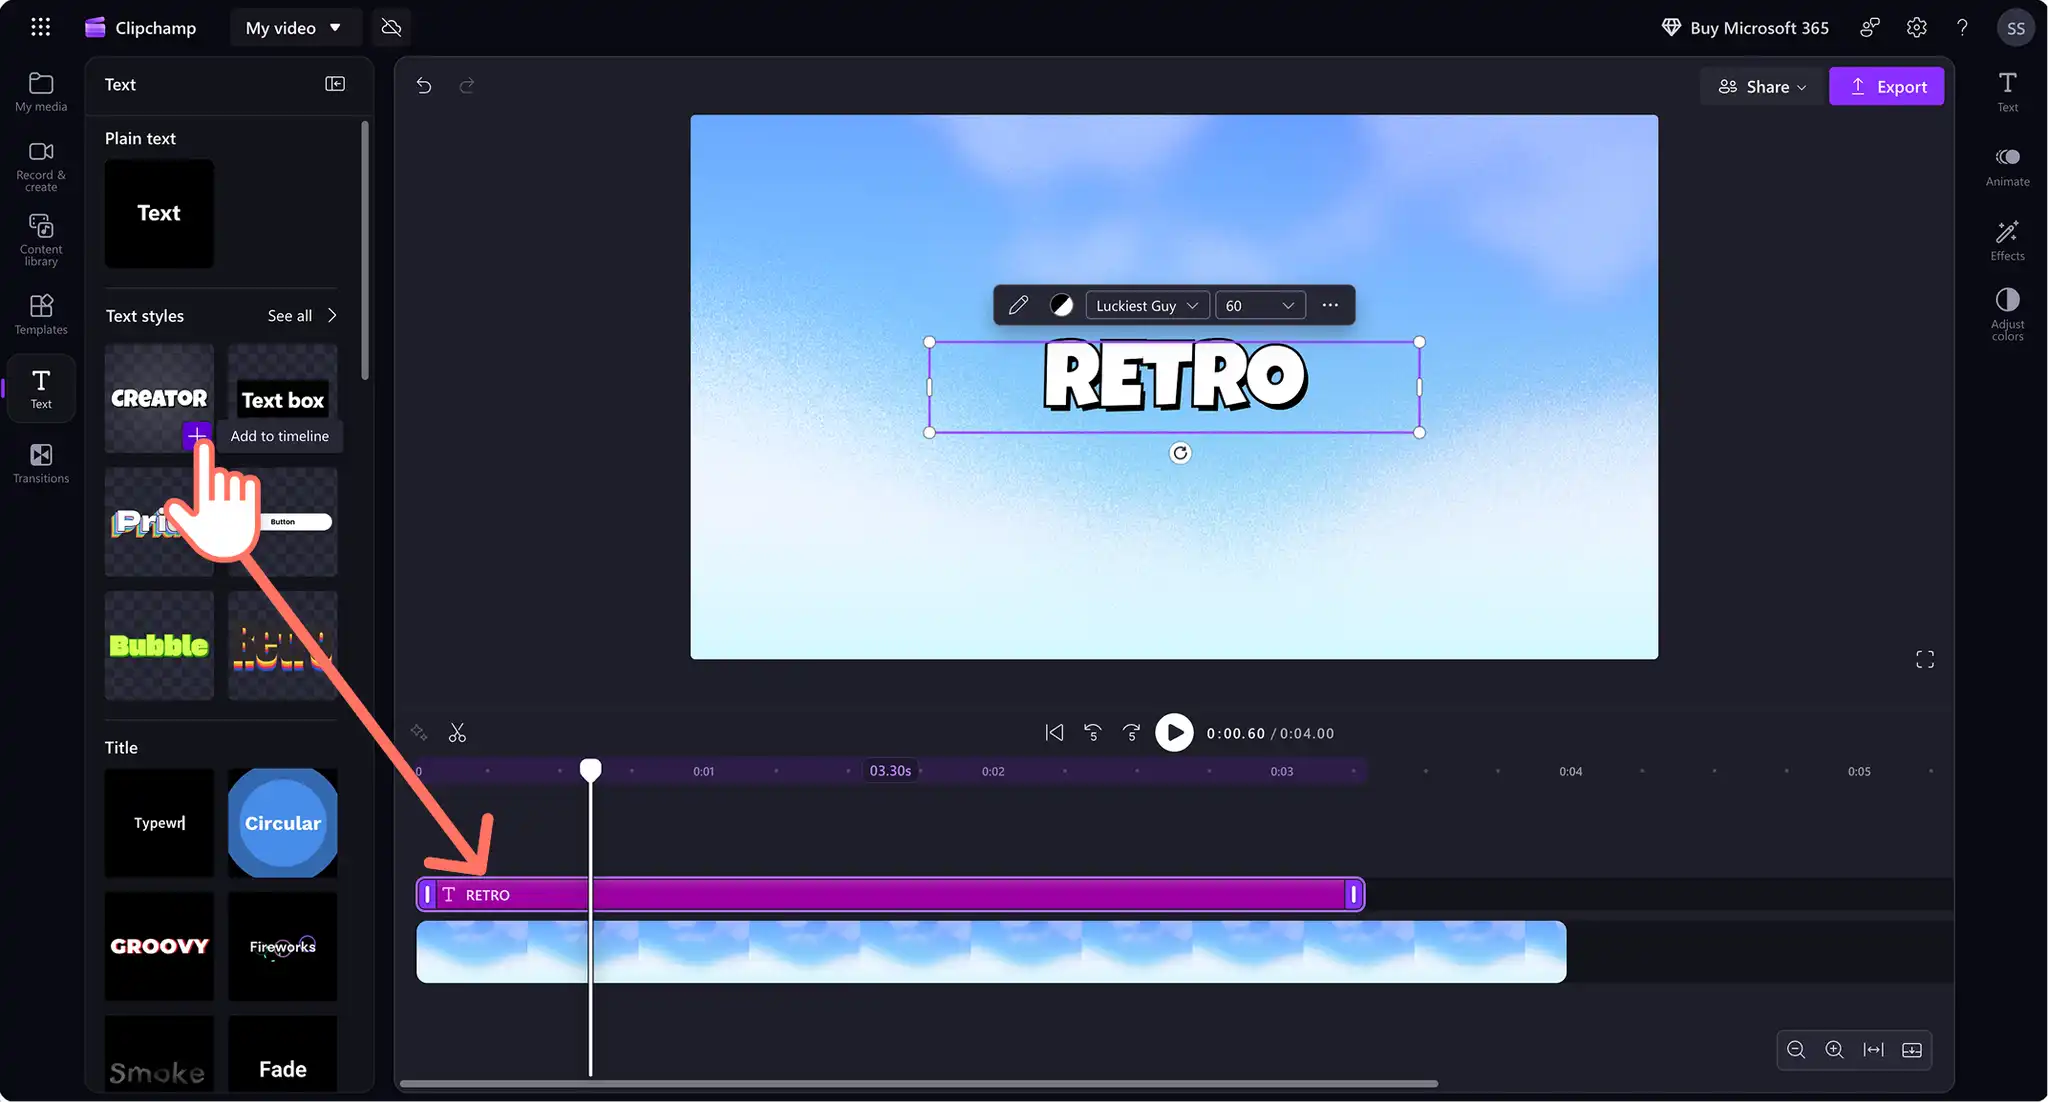
Navigate to the text tab on the toolbar to find all available text styles to overlay onto the video. Scroll through the title options and hover over a title to preview the text.
Click on the add to timeline button to use the title. It is also possible to add a title by dragging and dropping it onto the timeline.
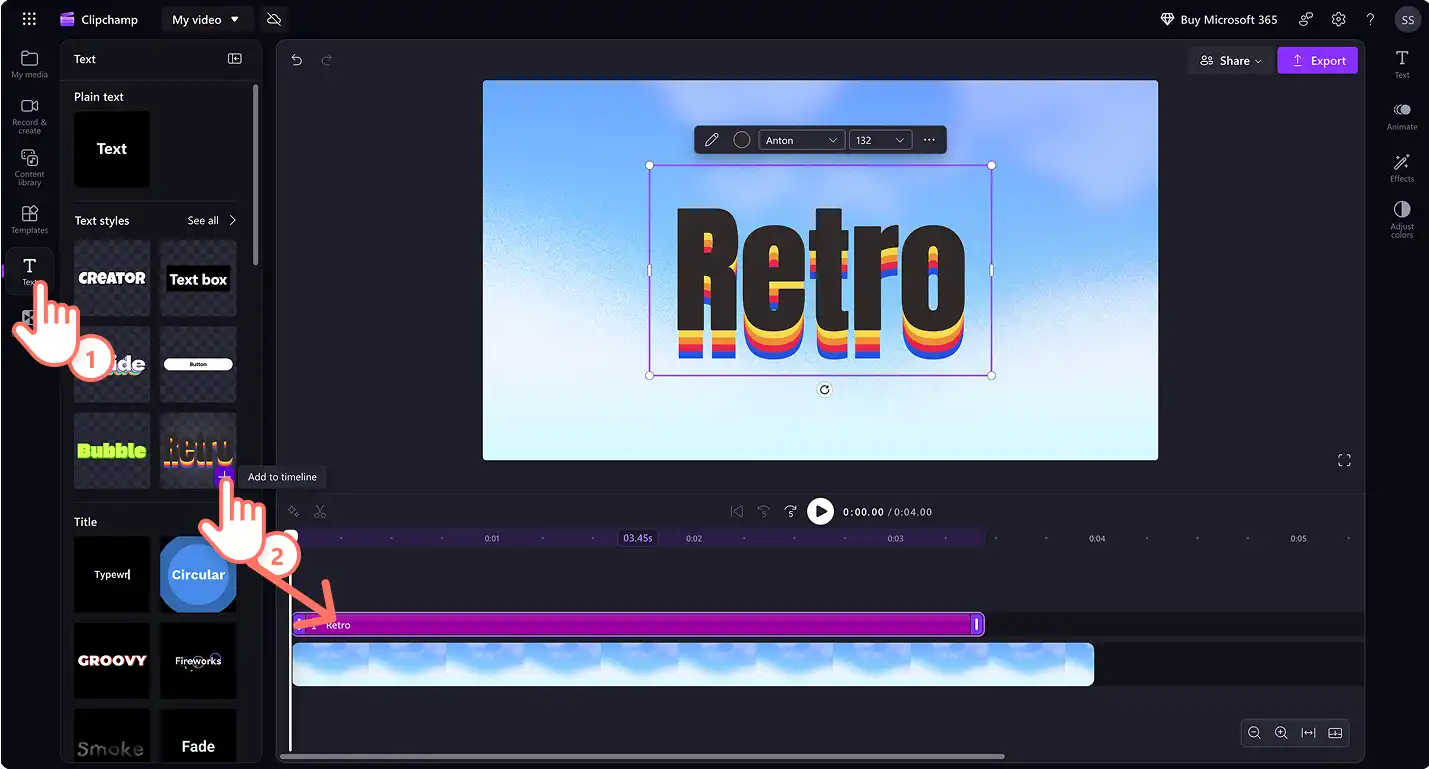
Change the text selection by dragging and dropping a different title on top of the existing title in the timeline.
Step 3. Edit the text, font, color, style, and position of the title
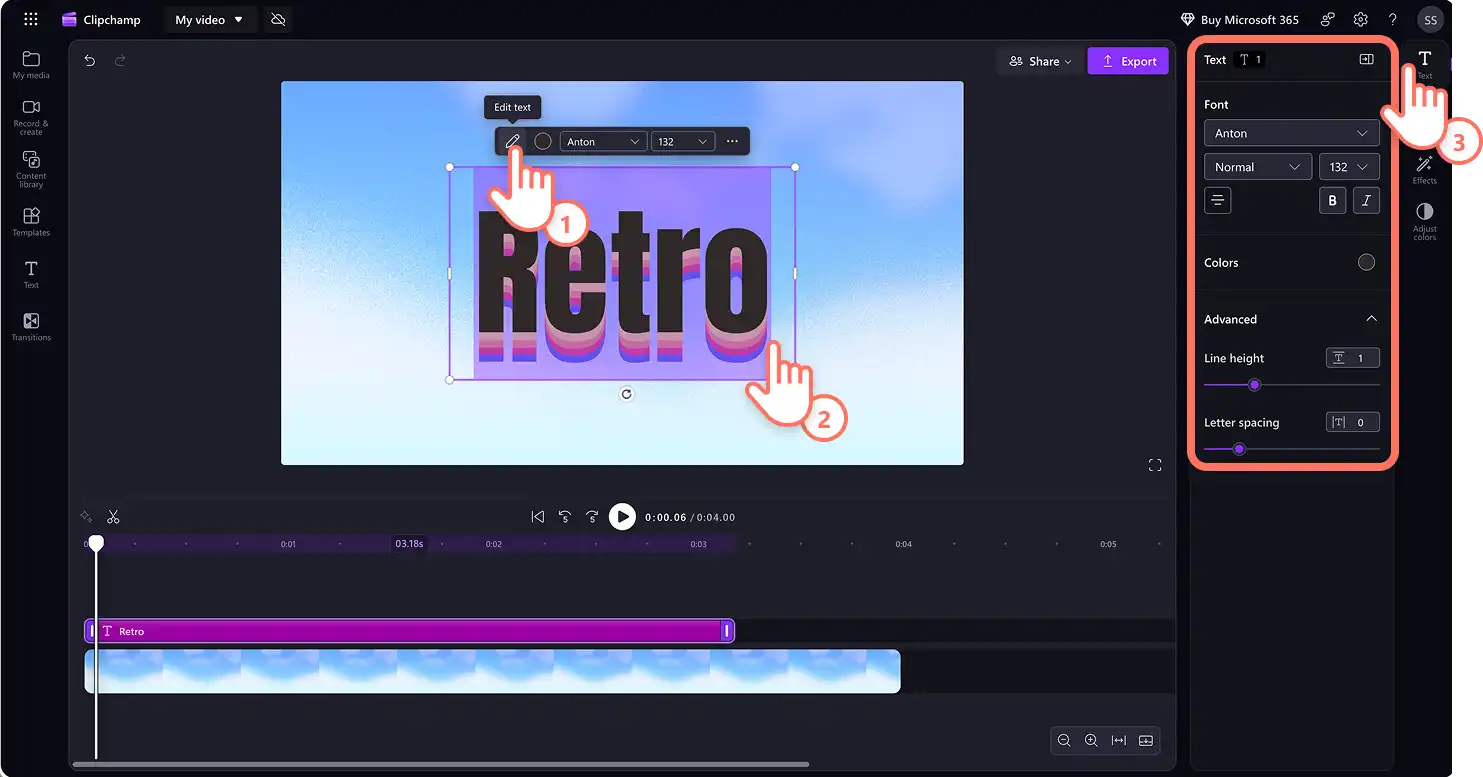
Update what the title reads by selecting the title in the timeline and clicking on the pencil icon in the text menu inside the stage, or by clicking on the text tab on the property panel. Just highlight the default title and type over with the desired text.
Next, click on the text tab on the property panel. Here, update the font, style, size and color. Try advanced text editing options like adding line height, spacing, or shadows to further customize text.
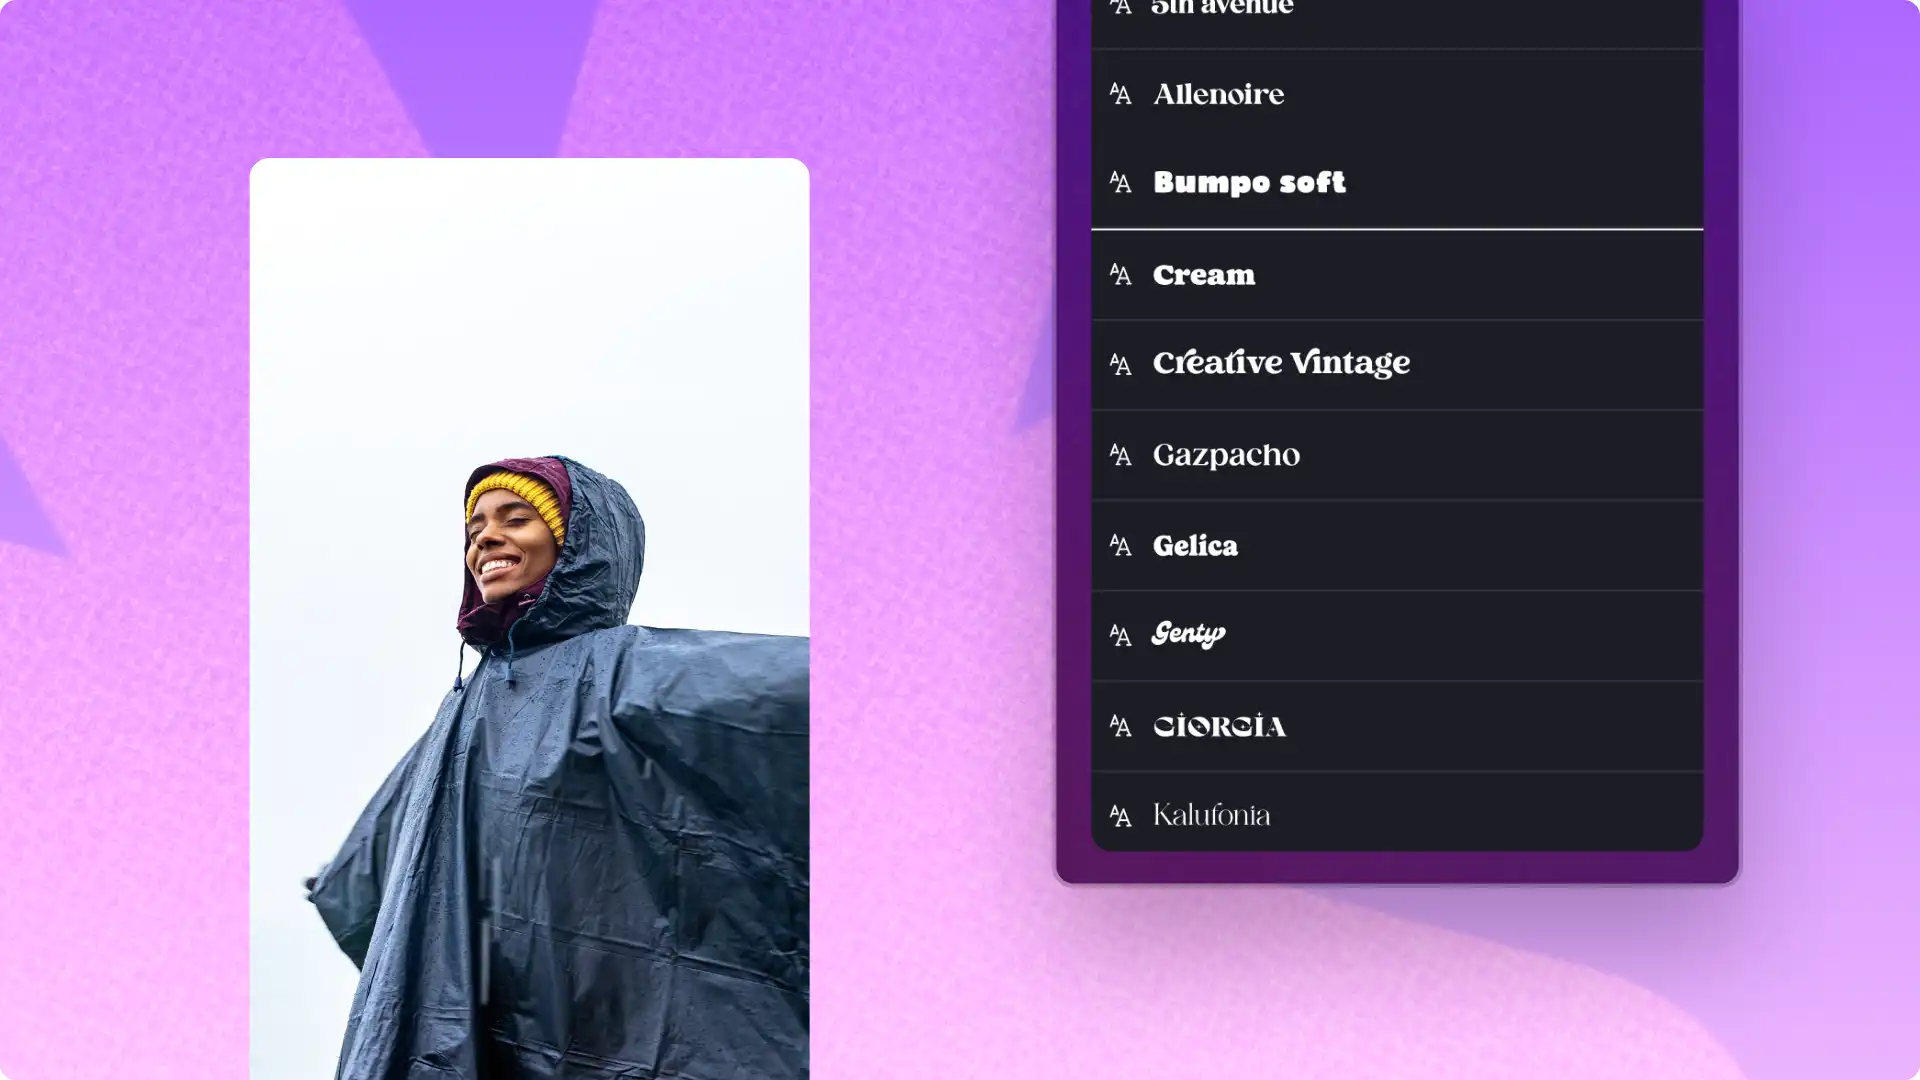
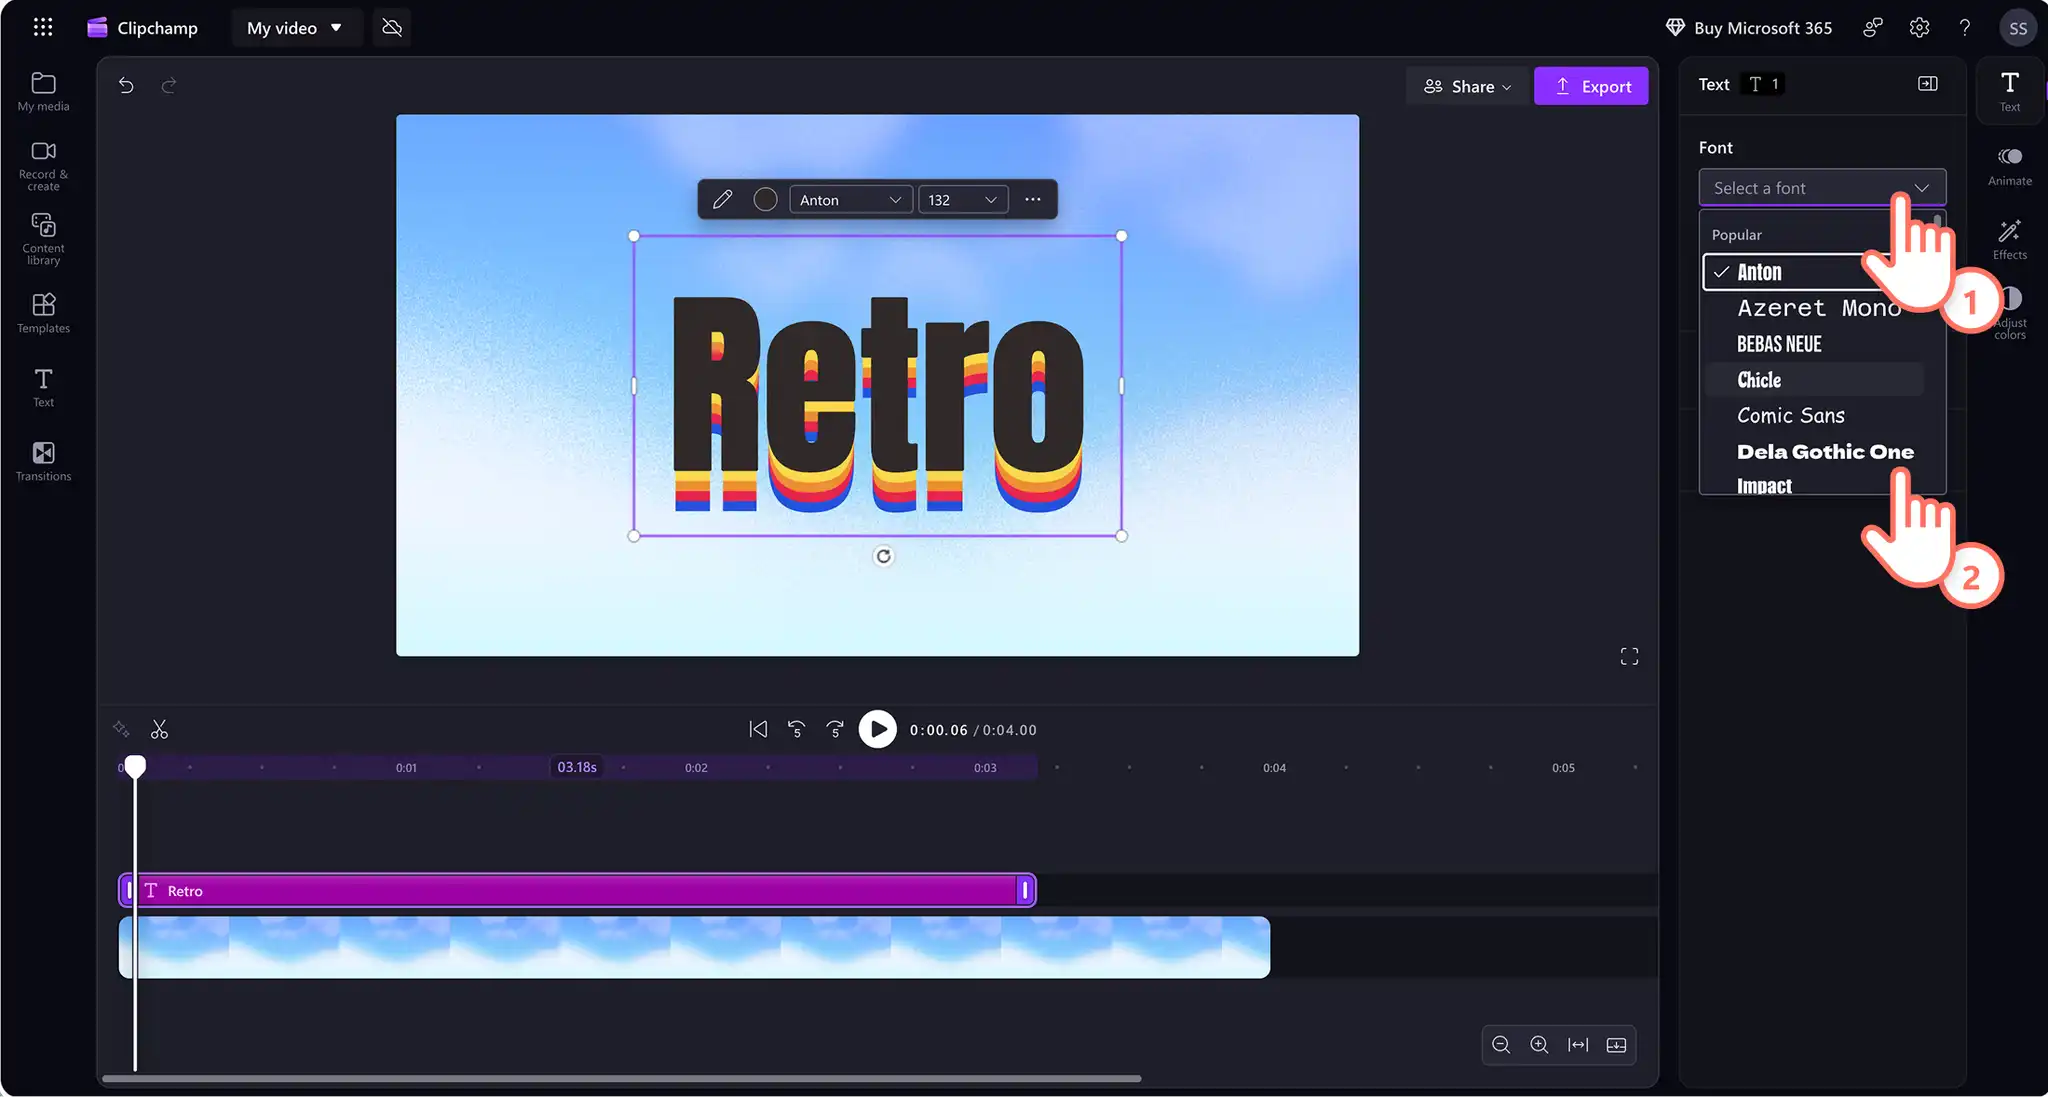
Click on the font drop-down arrow to open all of the different font options and choose the desired new font. Change the font as many times as needed. To make the video branded, add and use a custom brand font using the brand kit tool.
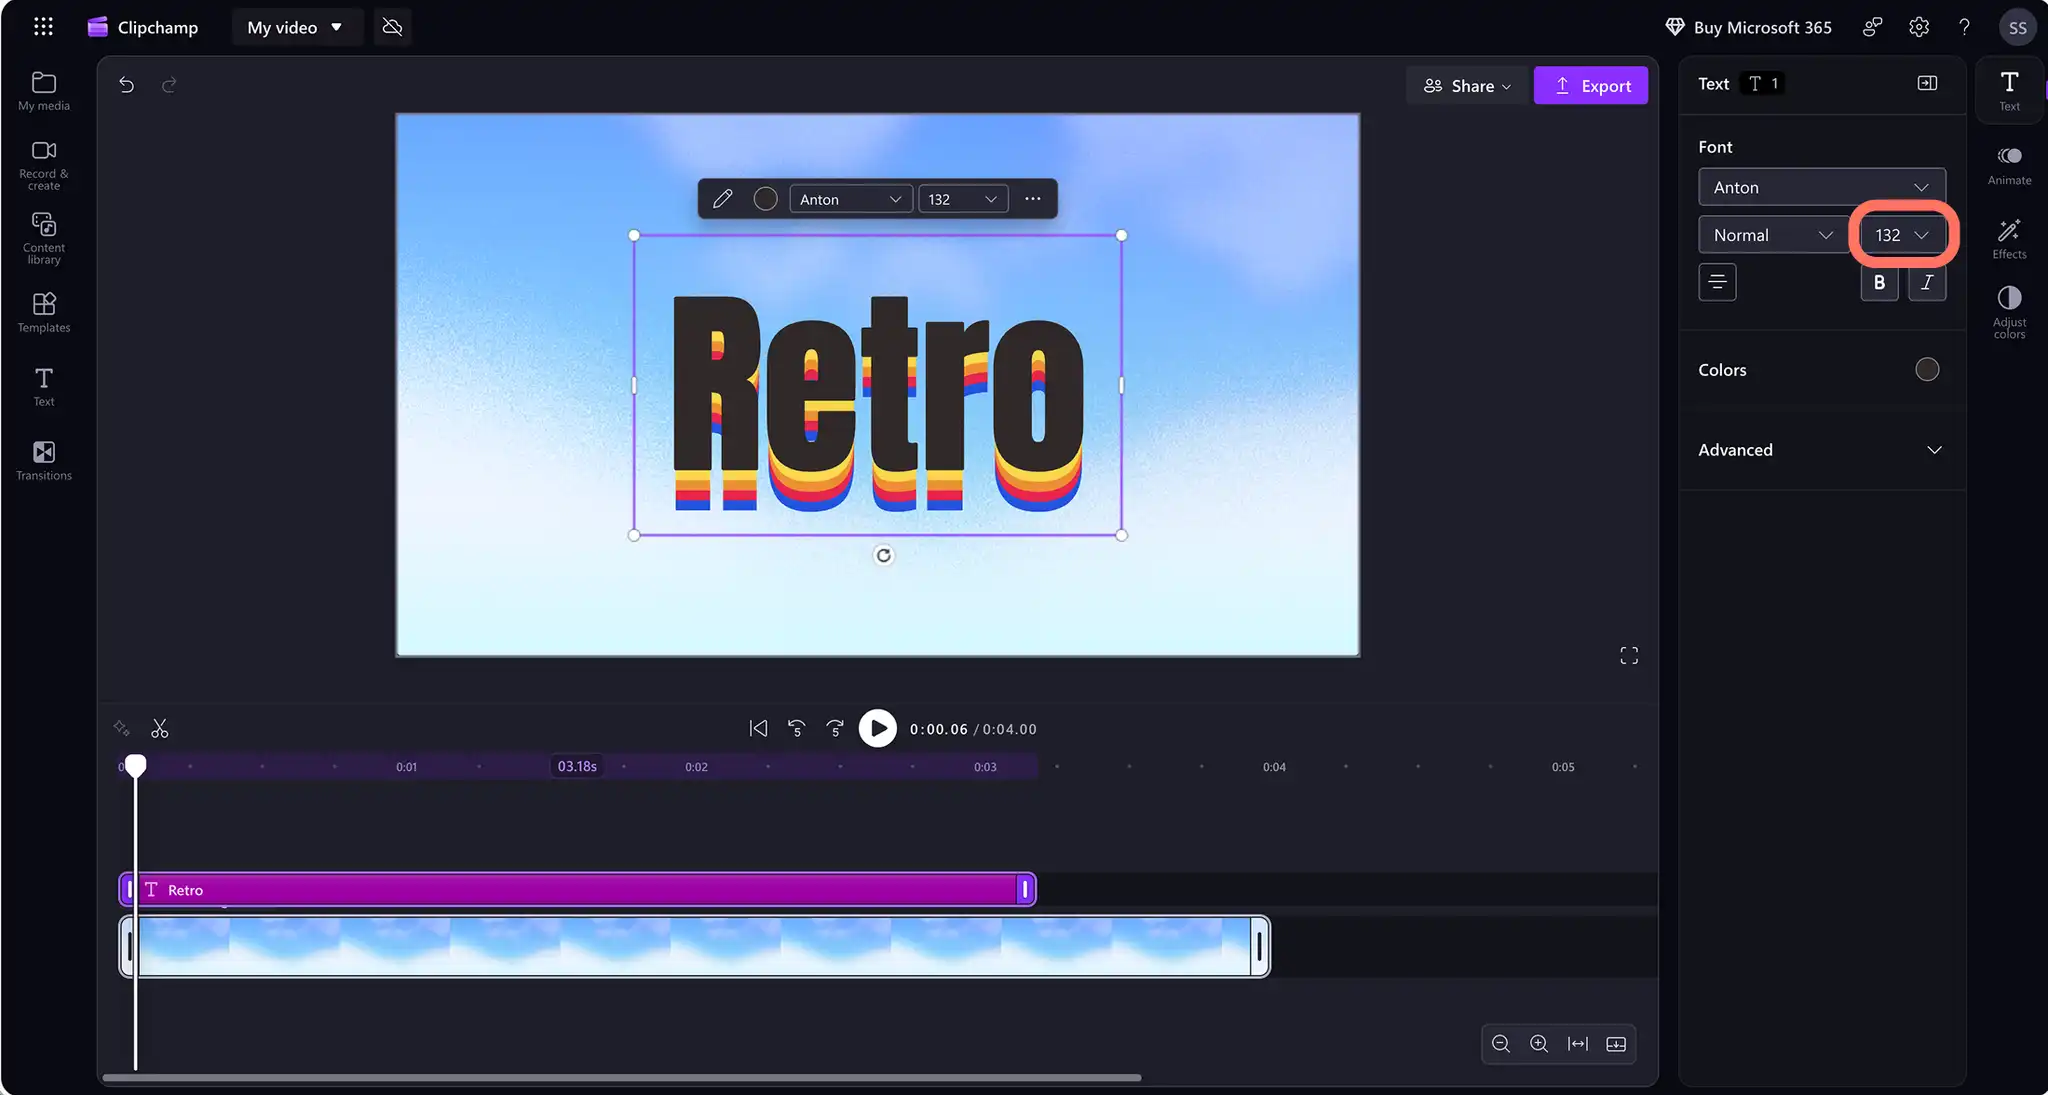
Use the size drop-down menu to set a numeric value for the font size in the text menu on the stage or in the text tab in the property panel. Adjust the size of some titles by dragging the corners of the text style on the stage.
Adjust text further by using the left, middle, or right alignment option. Make text bold or italics with the style options in the text tab. Edit the rotation of text using the rotate feature.
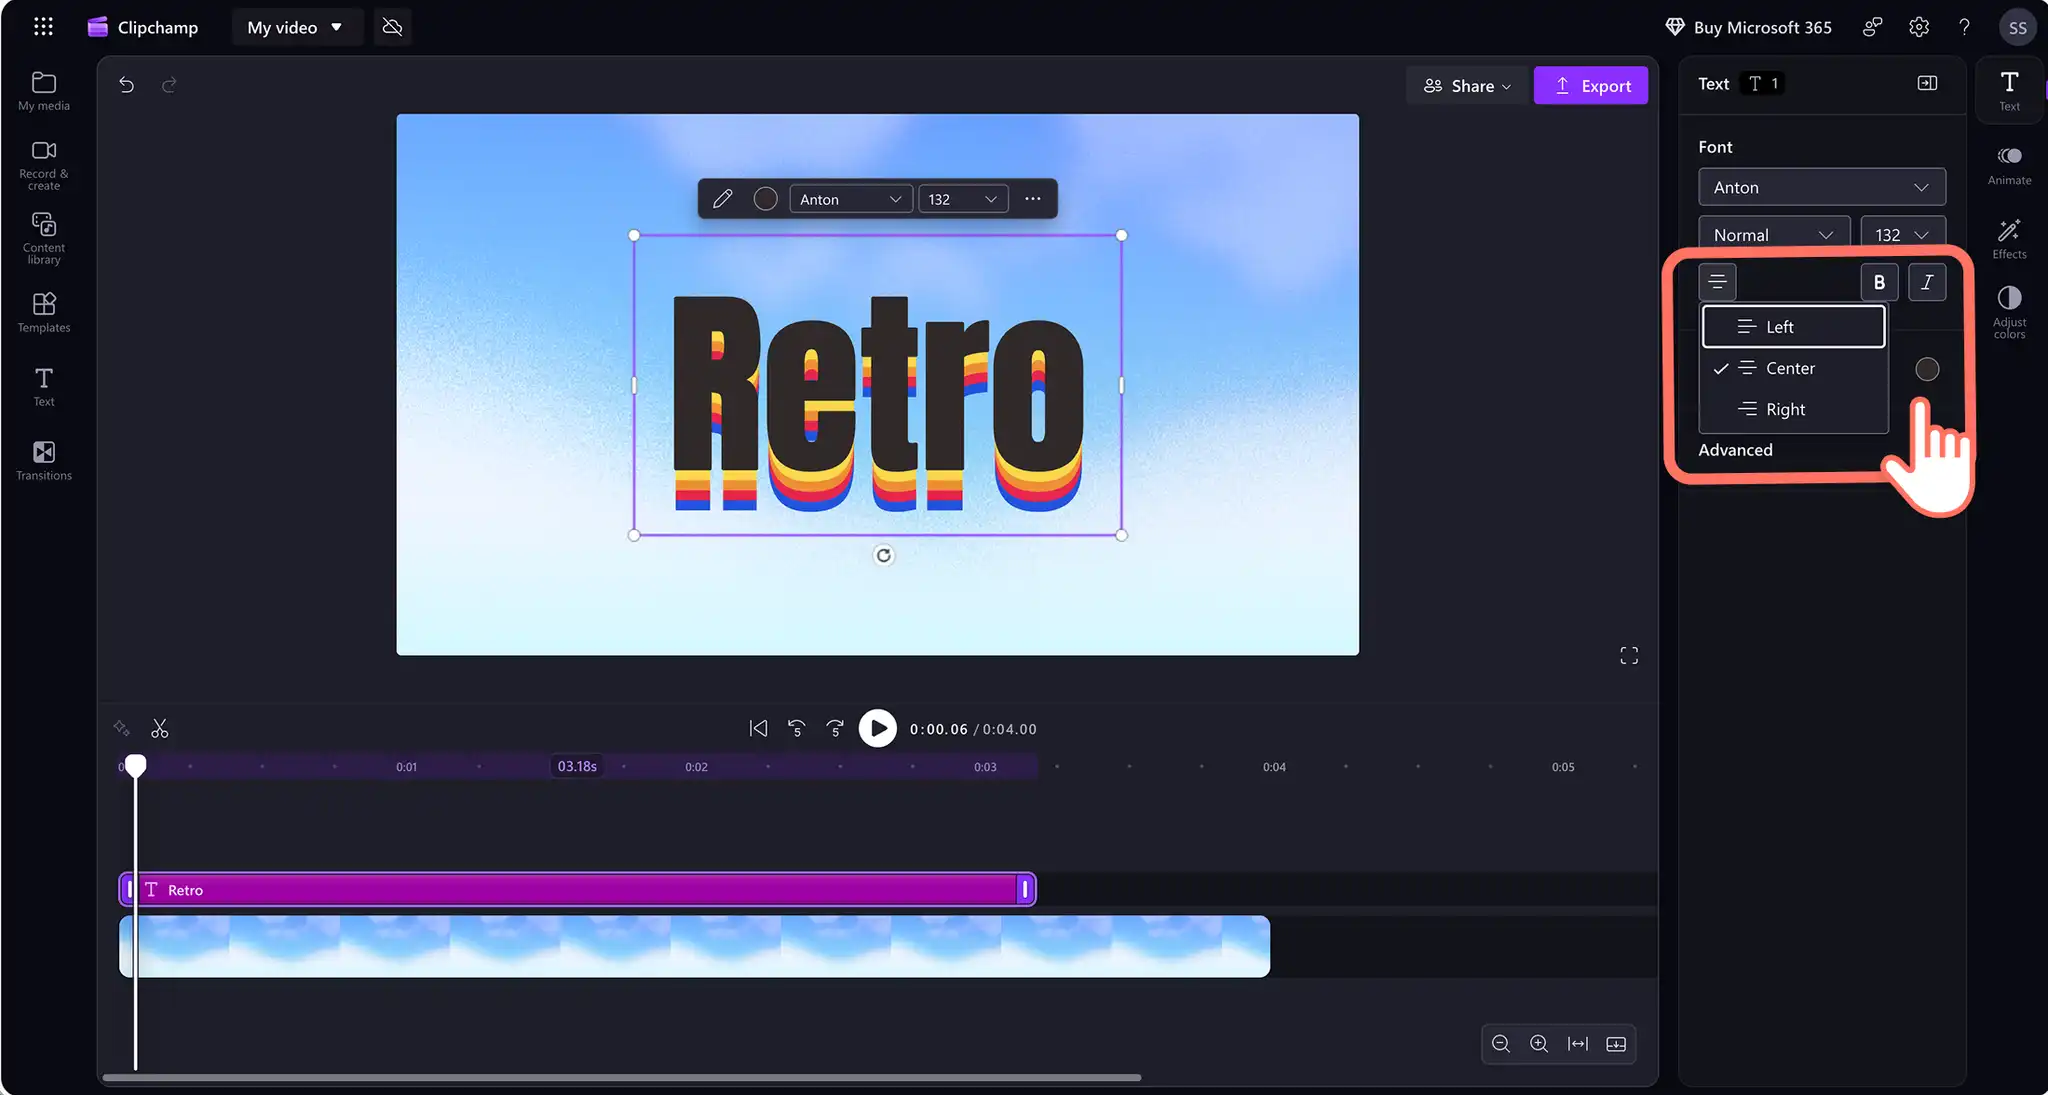
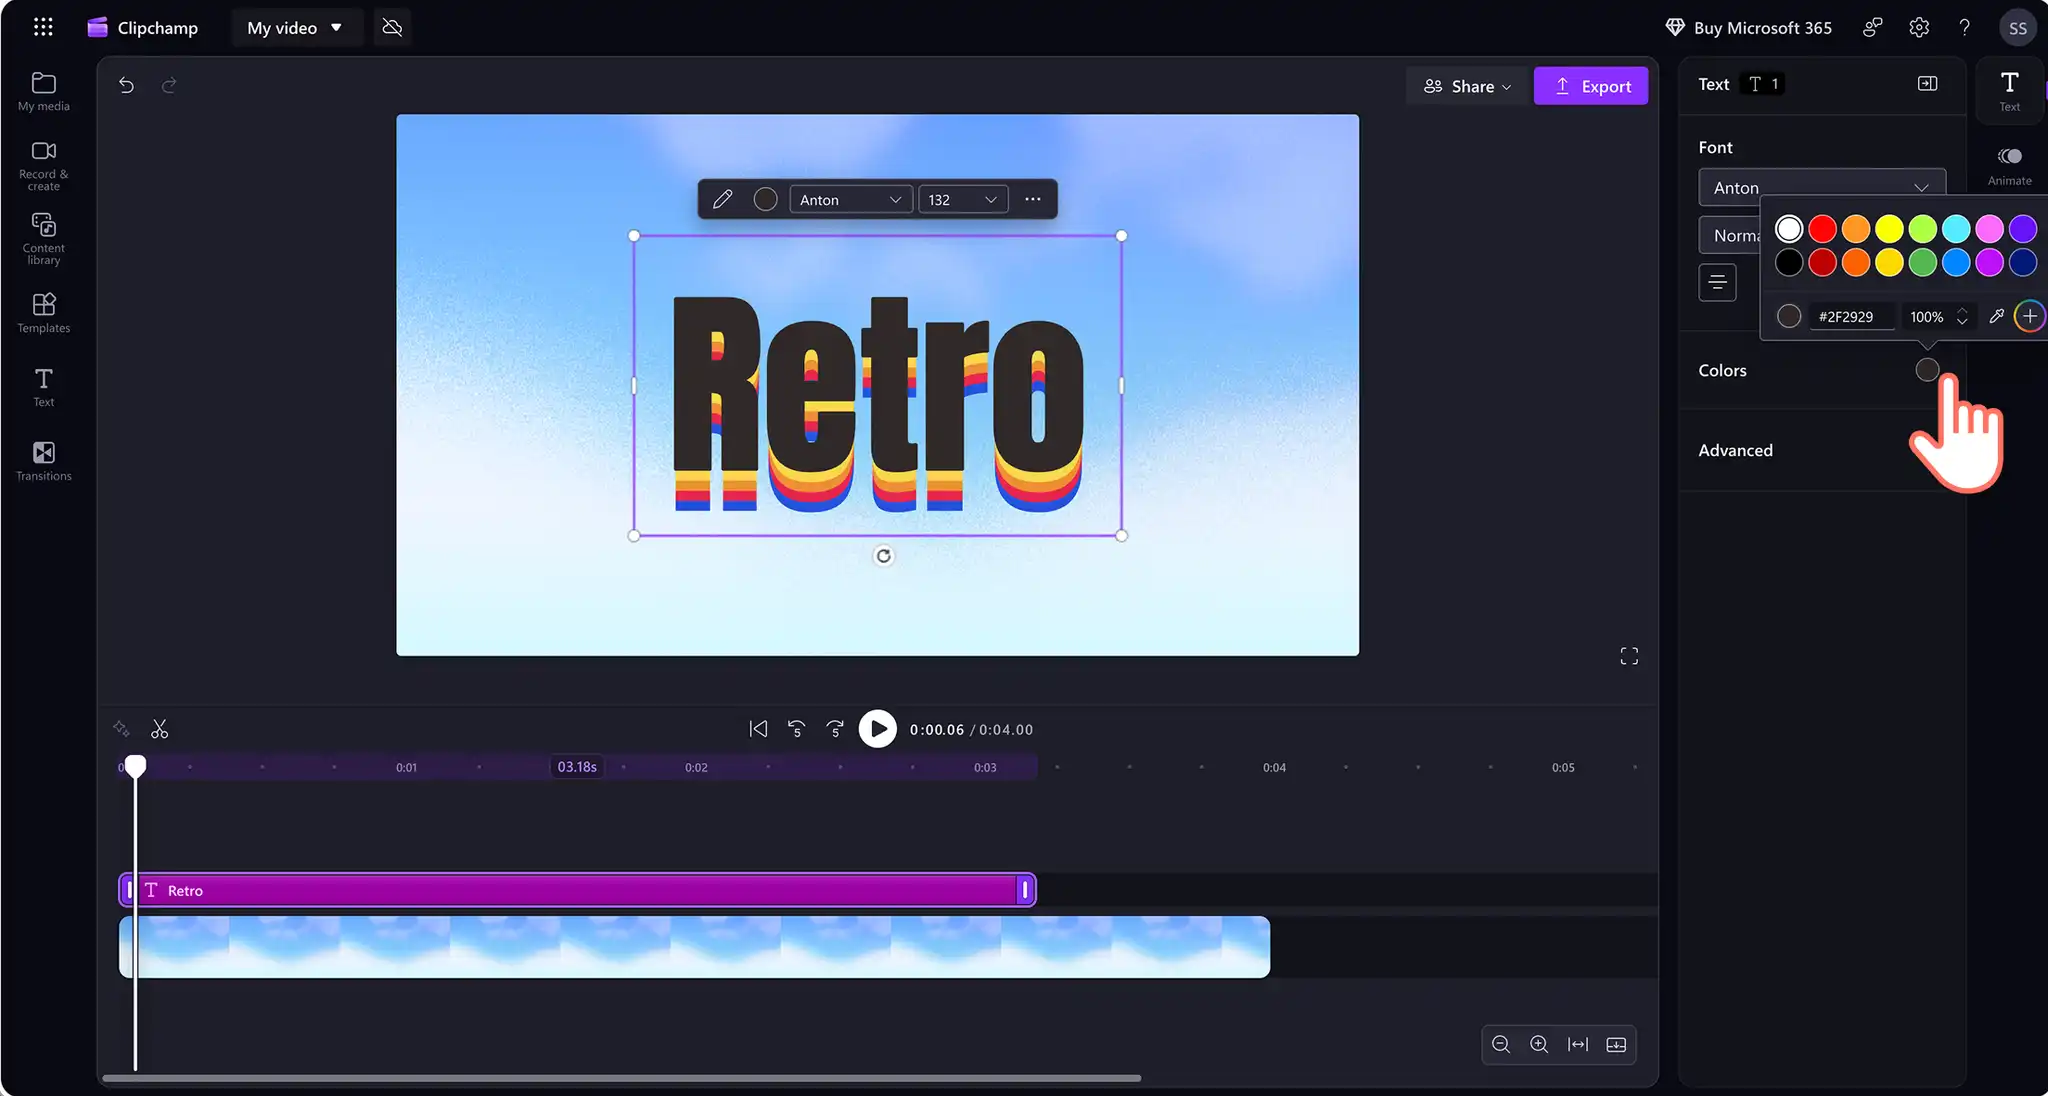
To edit the color of the text, click on the color picker and select a new color. Here, type in a specific color hex code, select the transparency percentage, select no color, or choose a color from the extended palette. Alternatively, adjust the colors from the text menu on the stage. There is also an option to add personalized colors using the brand kit tool.
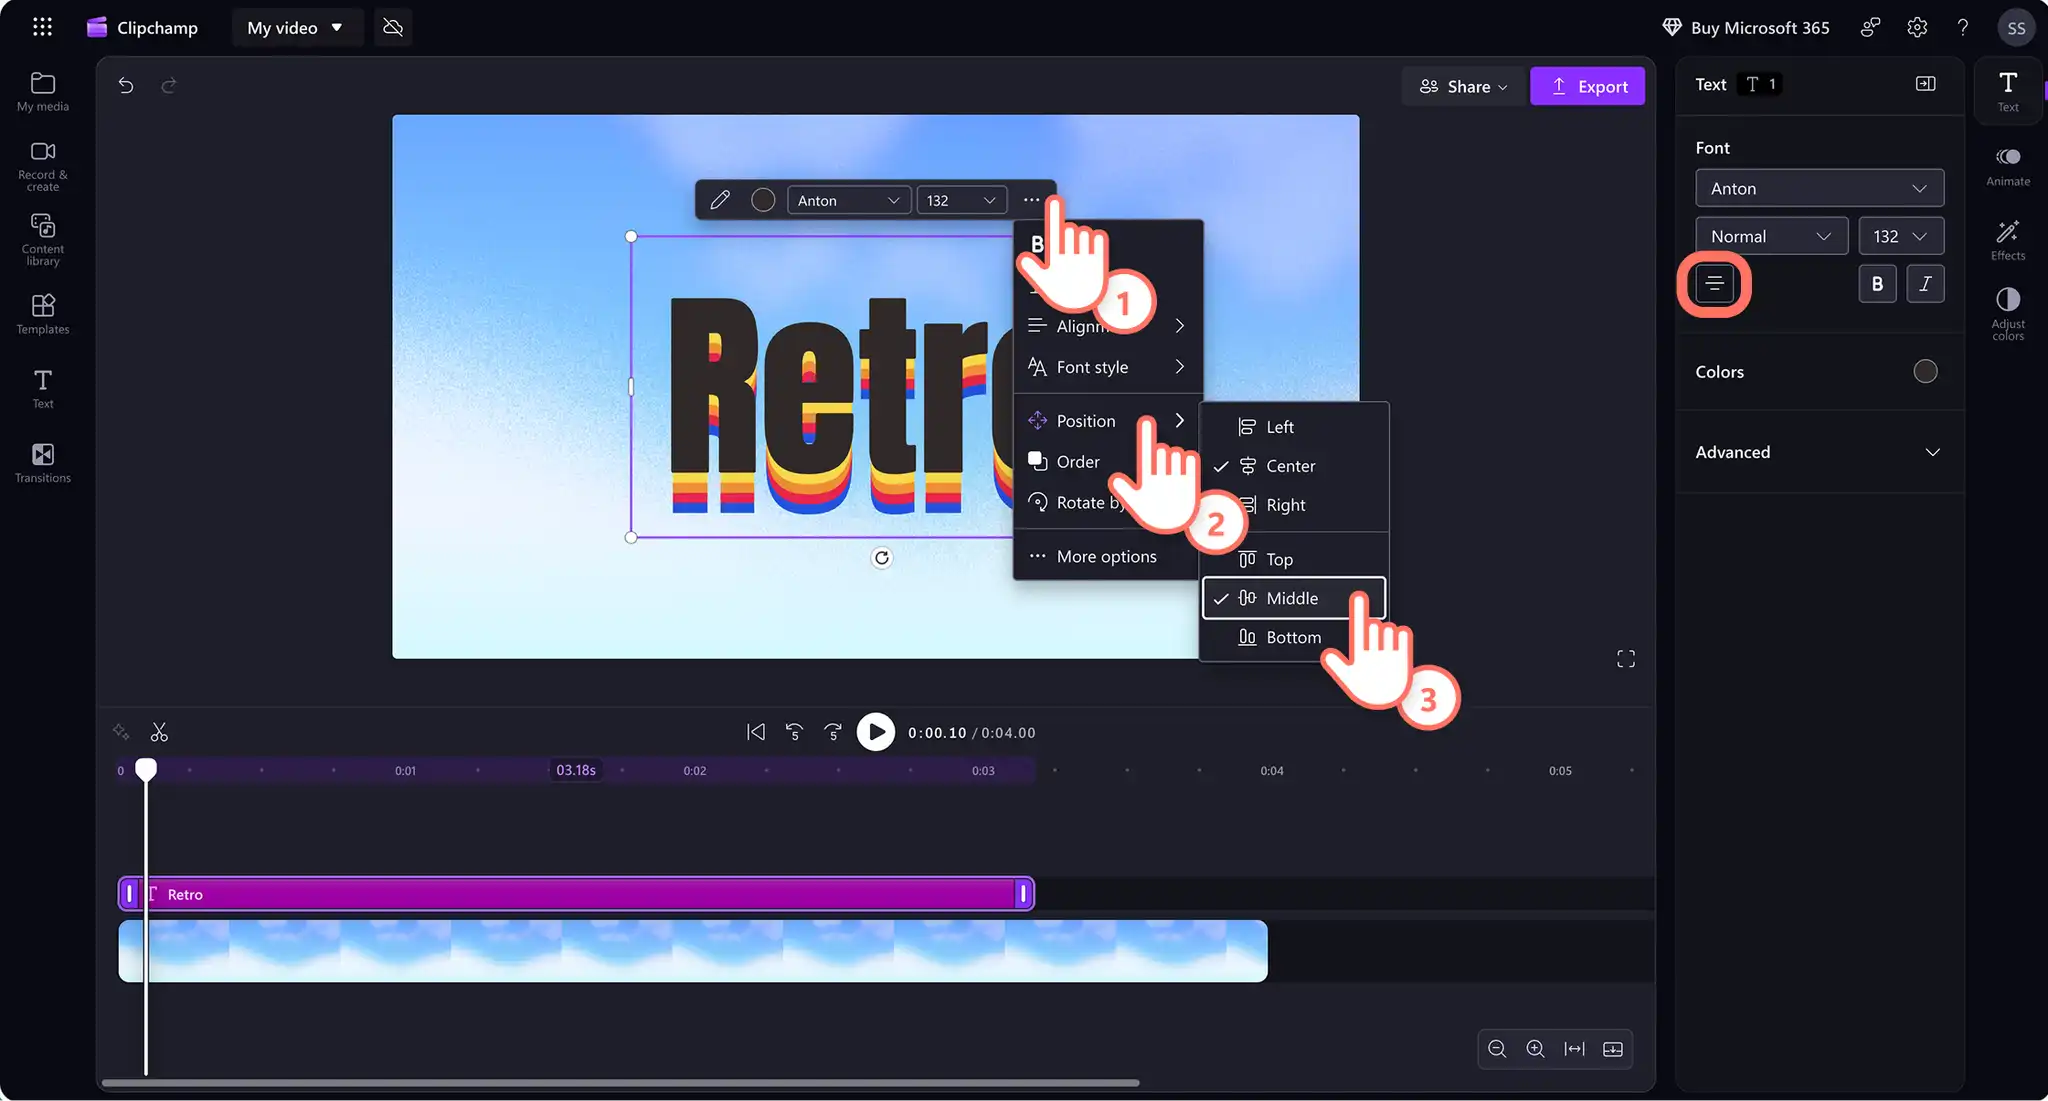
There are three ways to edit the position of the text. Simply drag the title around freely on the stage, or use the position presets available in the text menu, or use the text tab in the property panel.
To edit via the text menu, click on the three dots to reveal the text drop-down menu. Select position and choose from a range of options, including left, center and right as well as top, middle and bottom.
Step 4. Trim or extend the text duration
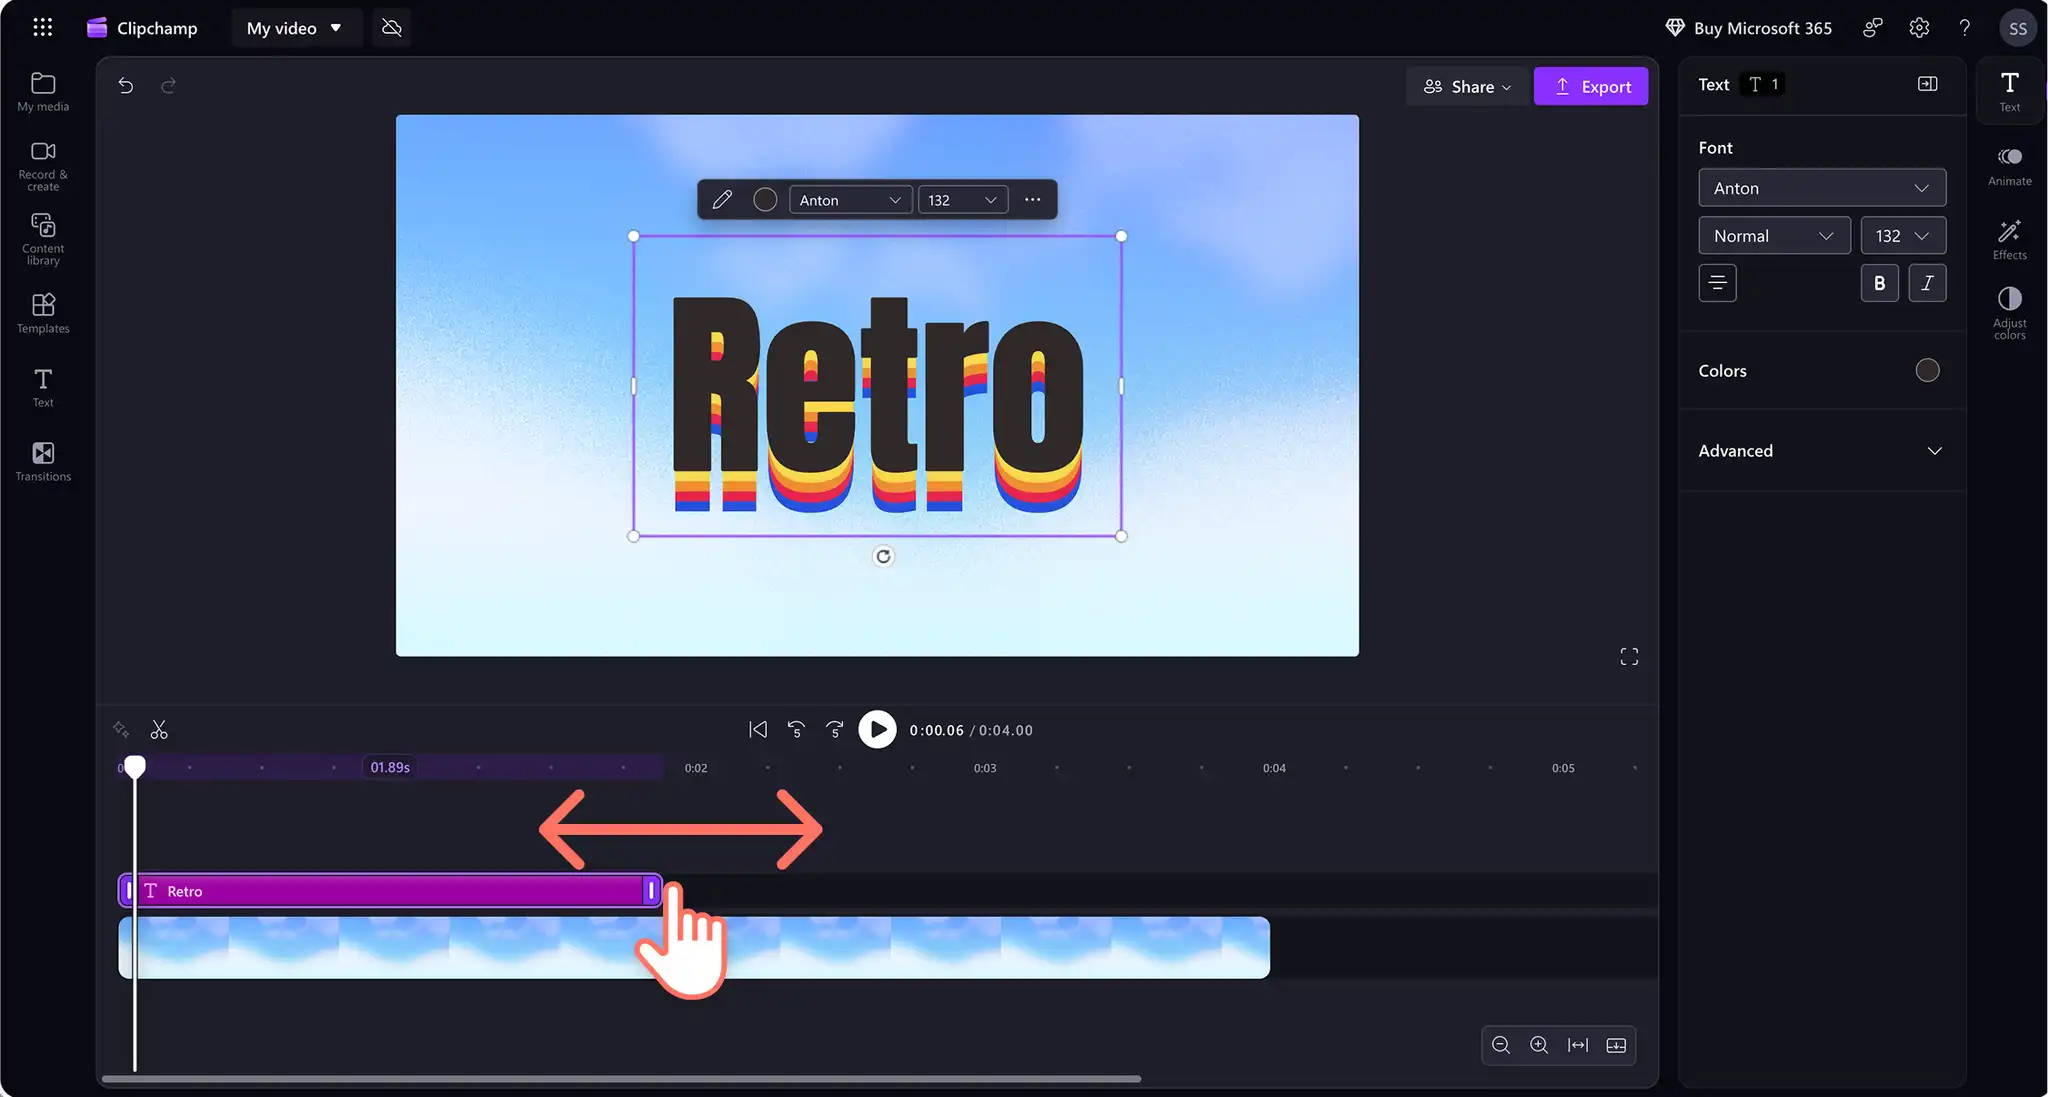
Extend the length of the text by dragging the text handles left and right of the timeline. Dragging to the left will shorten the length, and dragging to the right will extend the length.
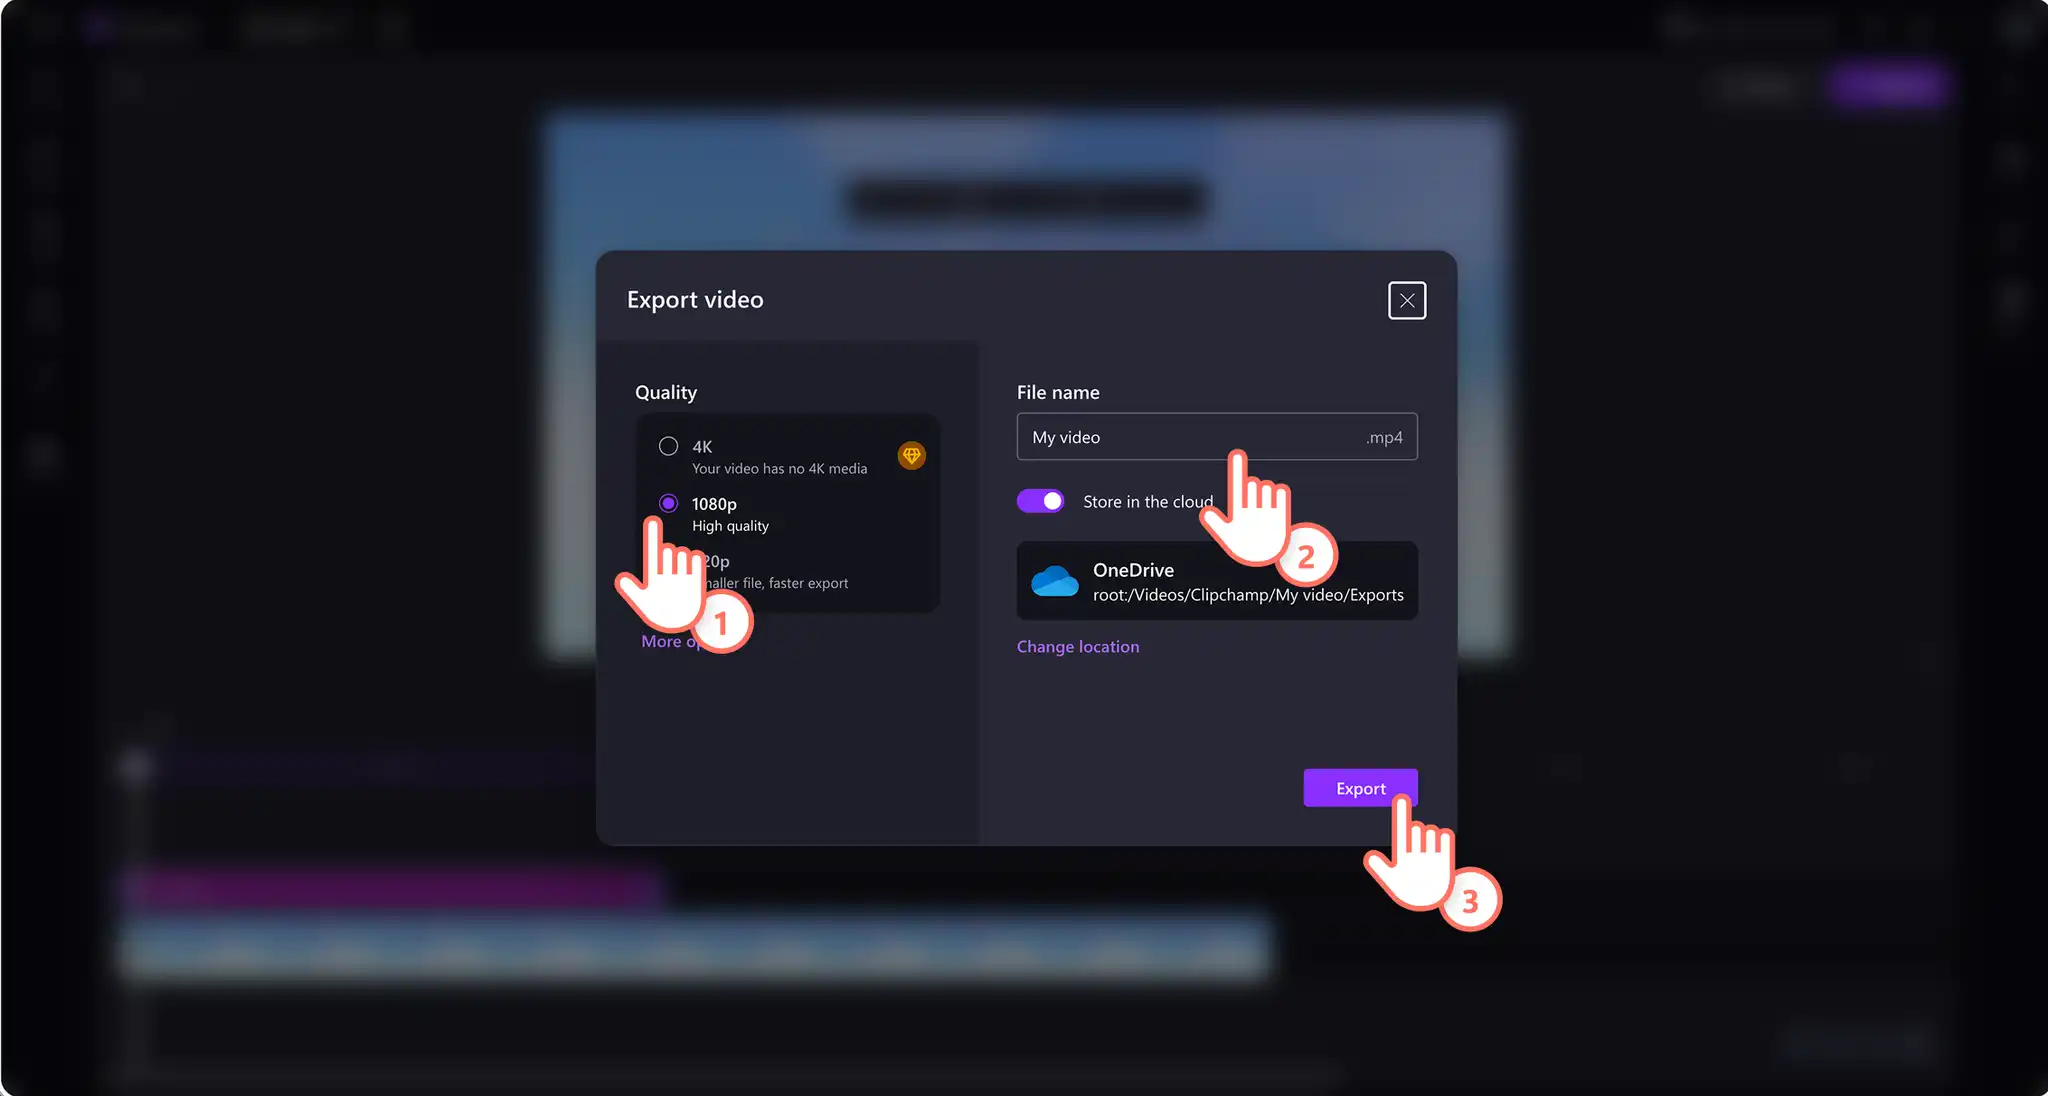
Step 5. Preview and save the video with text
Make sure to preview the video before saving by clicking on the play button. When ready to save, click on the export button and select a video resolution.
How to add special effects to text on videos
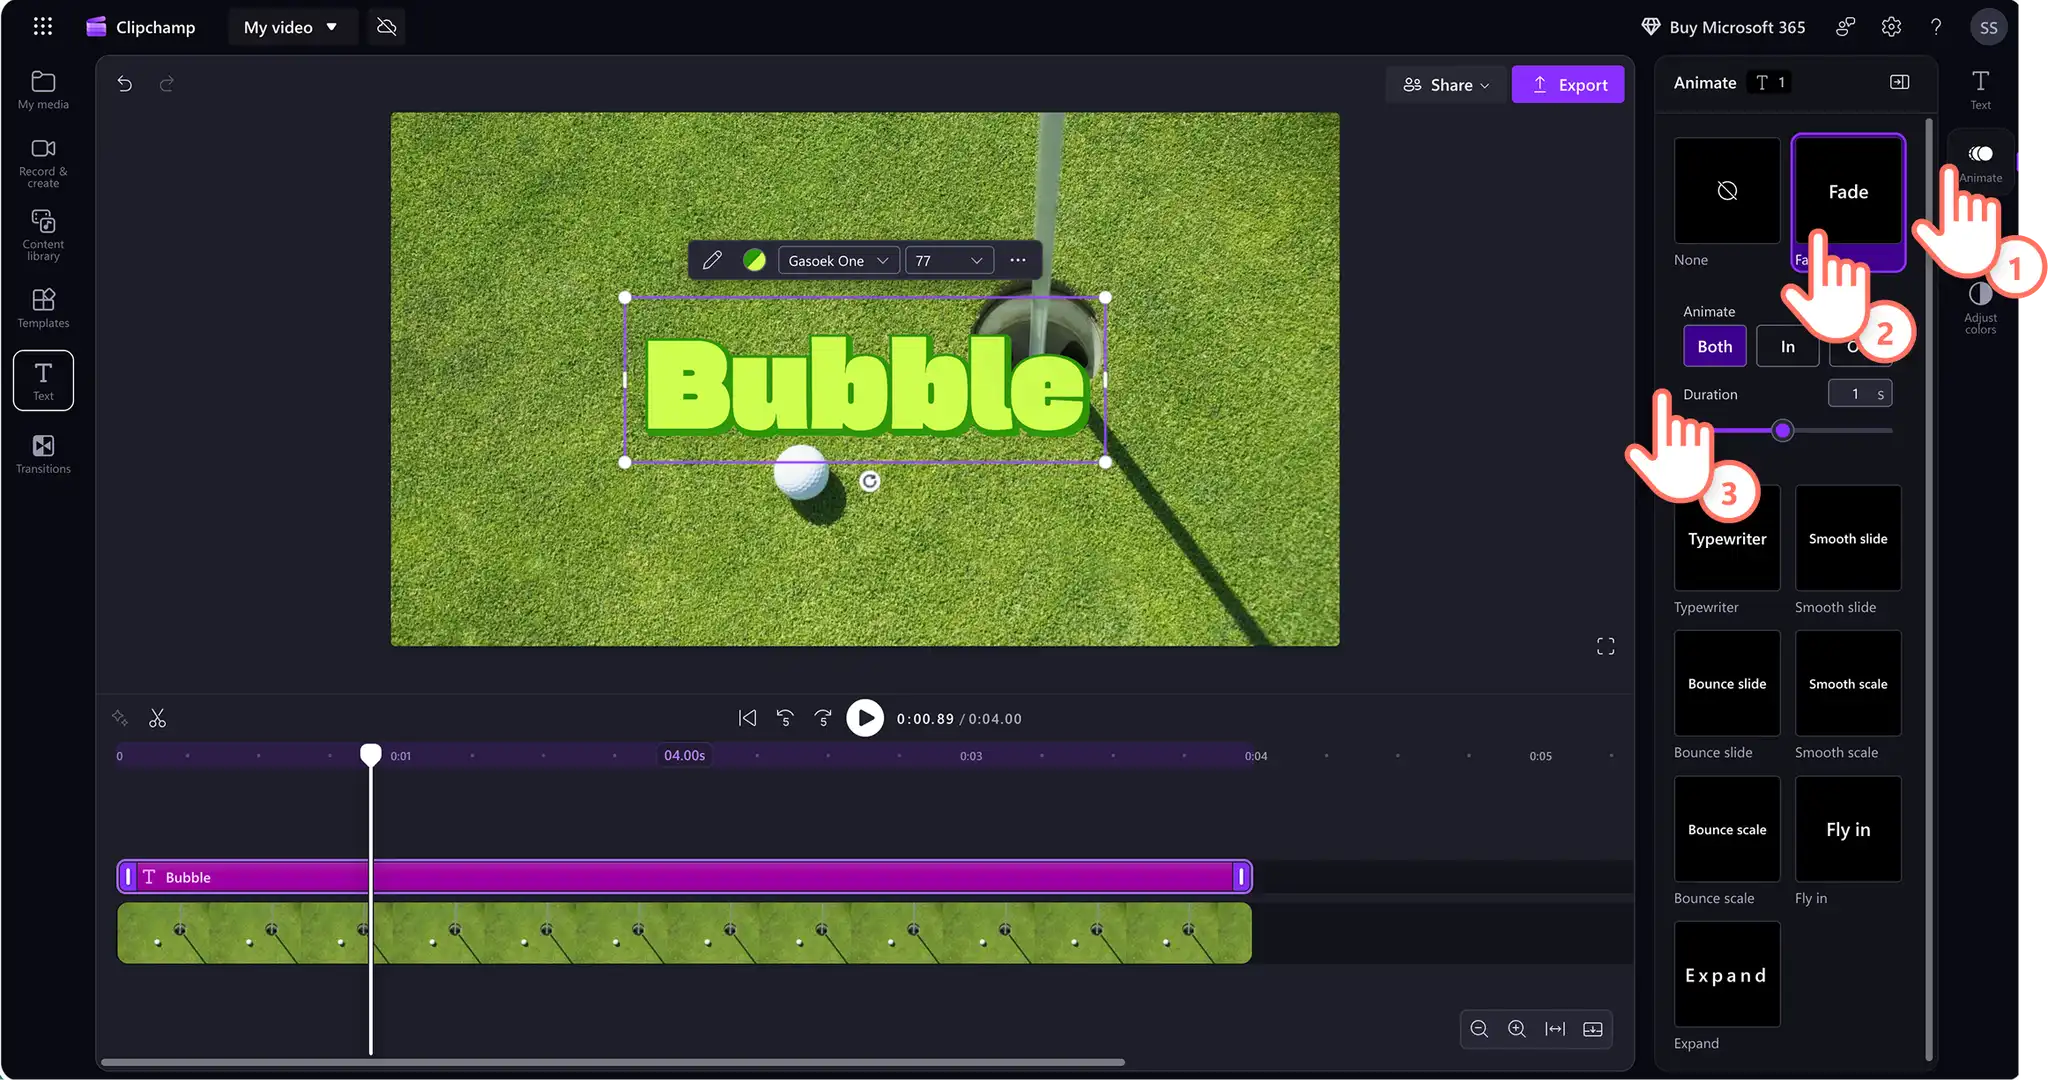
Fading in and out titles
Select the text option on the timeline.
Click on the animate tab on the property panel.
Select the fade animation effect.
Choose between fade in, fade out, or both and adjust the duration of the fade.
Play the video to view the fade effect.
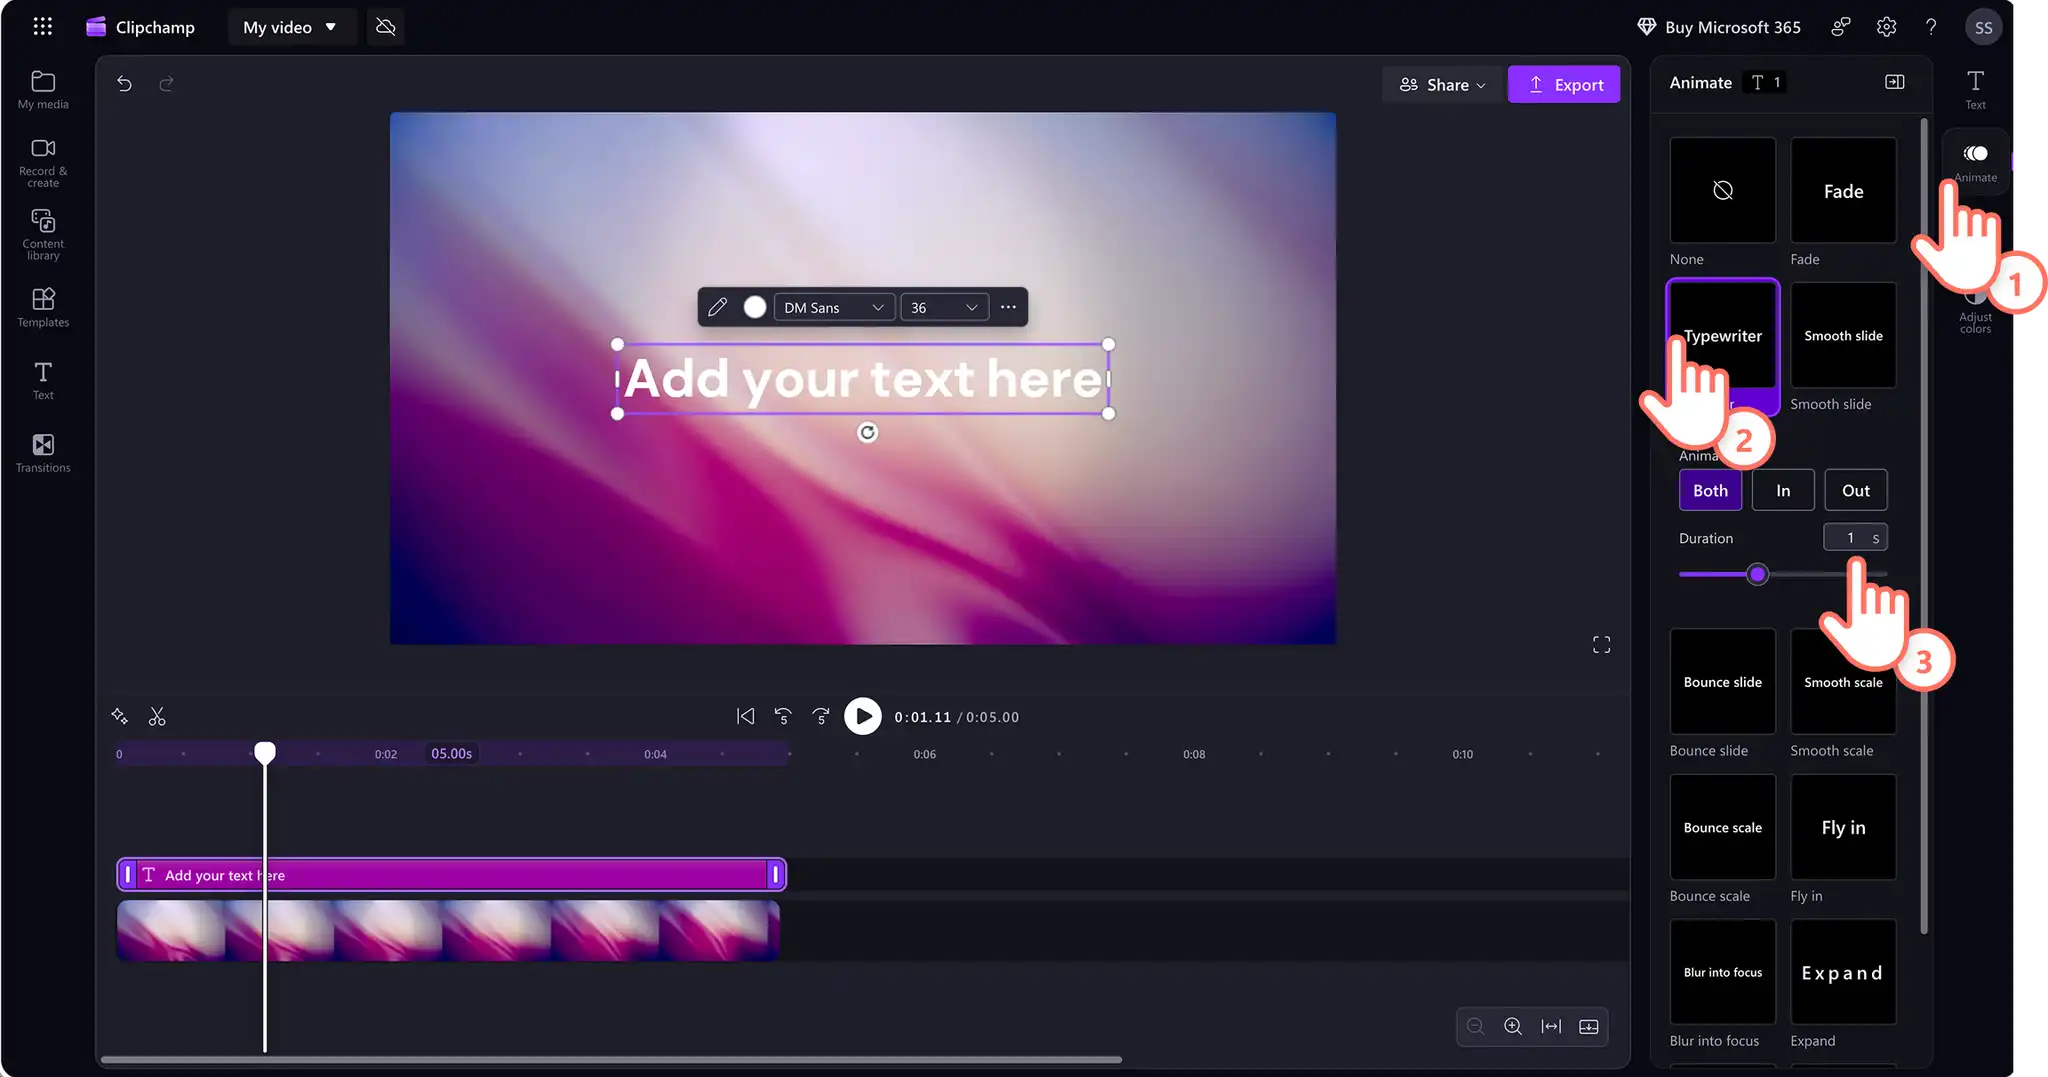
Adding text effects and animations to text
Select the text option on the timeline.
Click on the animate tab on the property panel.
Hover over the different text effects to preview, including fade, typewriter, smooth slide, smooth scale, bounce, and more.
Click on the desired animation effect to apply. After applying, adjust the duration and direction of the effect as per the video.
Play the video to view the selected effect.
Note: animation effects only work on plain text or text styles.
For more help, check out this helpful YouTube video.
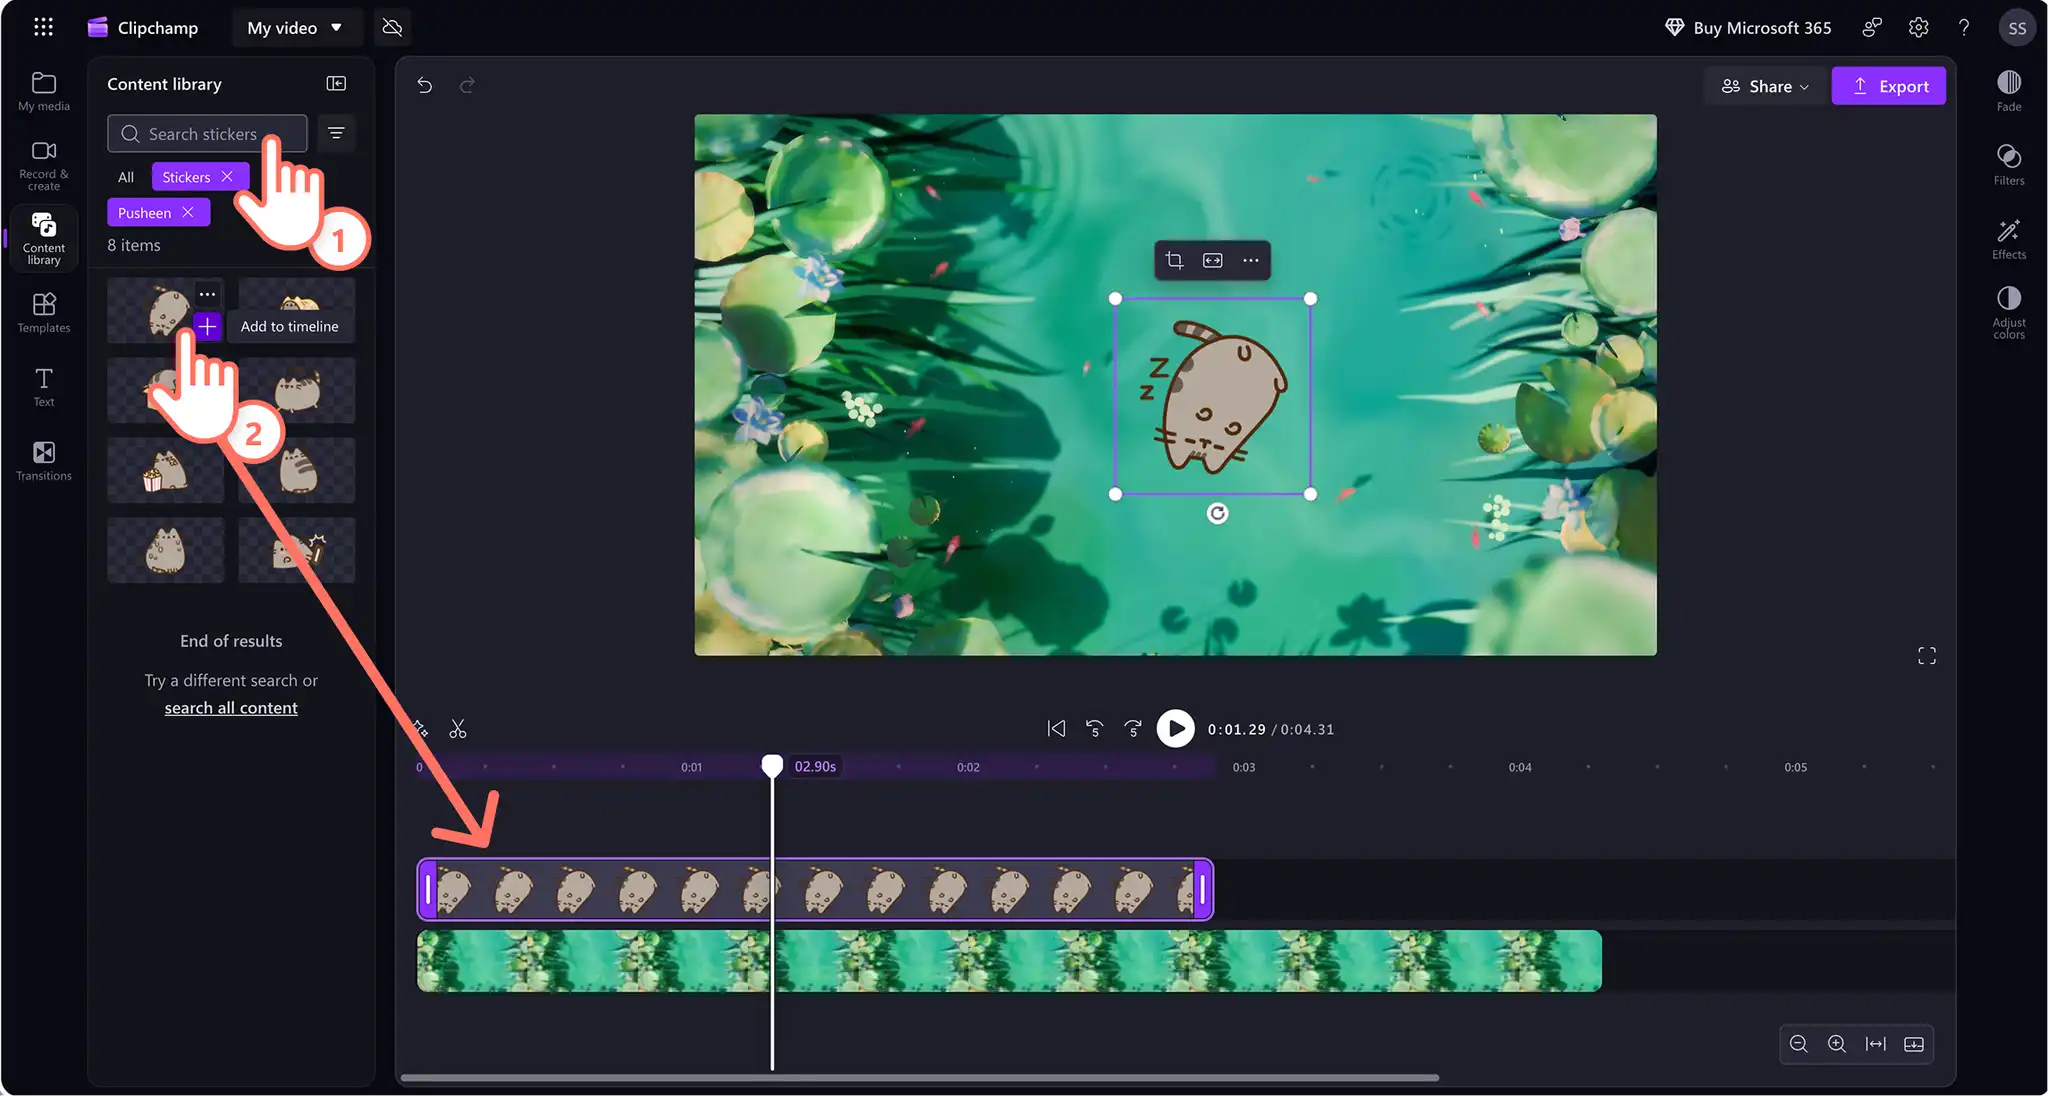
How to use text stickers to videos
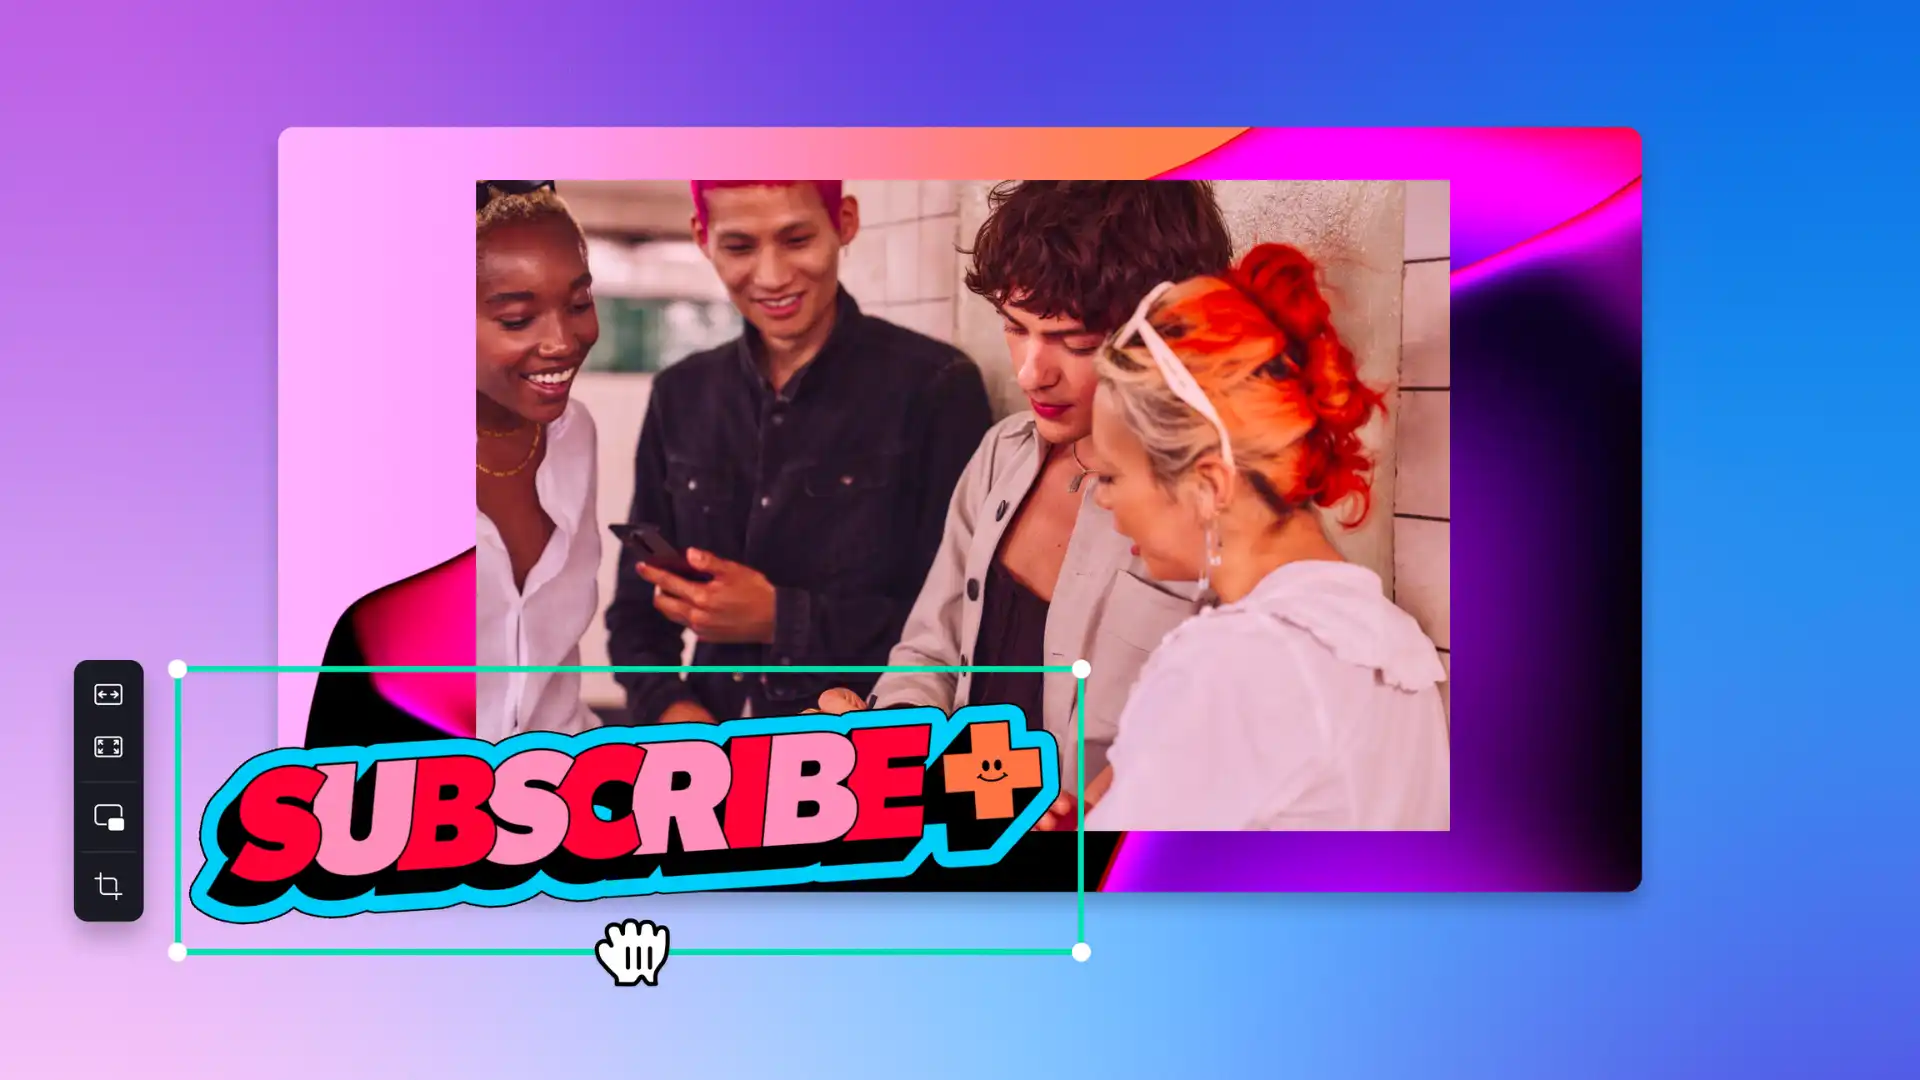
Navigate to the content library tab on the toolbar to browse use ready-made animated text stickers.
Click on the drop-down arrow on visuals, then select stickers.
Browse collections, or search for a specific animated text sticker using a keyword in the search bar like "follow" or "subscribe".
Drag and drop the sticker onto the timeline and place it above any existing video footage to make an overlay.
Frequently asked questions
- How many text overlays can be added to a video in Clipchamp?
It is possible to add unlimited text overlays while editing a video in Clipchamp. Use the duplicate button to speed up creating text overlays using consistent font, color, and positioning, especially when editing a lengthy video.
With text animations mastered, take a look at the best fonts for social media and learn how to add scene transitions to videos.
Start creating video voiceovers with Clipchamp video editor or download the Microsoft Clipchamp Windows app to edit from a desktop.
Heads up! The screenshots in this article are from Clipchamp for personal accounts. The same principles apply to Clipchamp for work and school accounts.